
Making sourdough sandwich bread at home is very rewarding. It lets you choose the ingredients and get the perfect taste and texture. This recipe makes a soft, fluffy loaf with a light crumb and a tangy flavor from the sourdough.
It’s great for making artisanal bread for sandwiches or toast. This homemade sourdough will surely impress everyone.
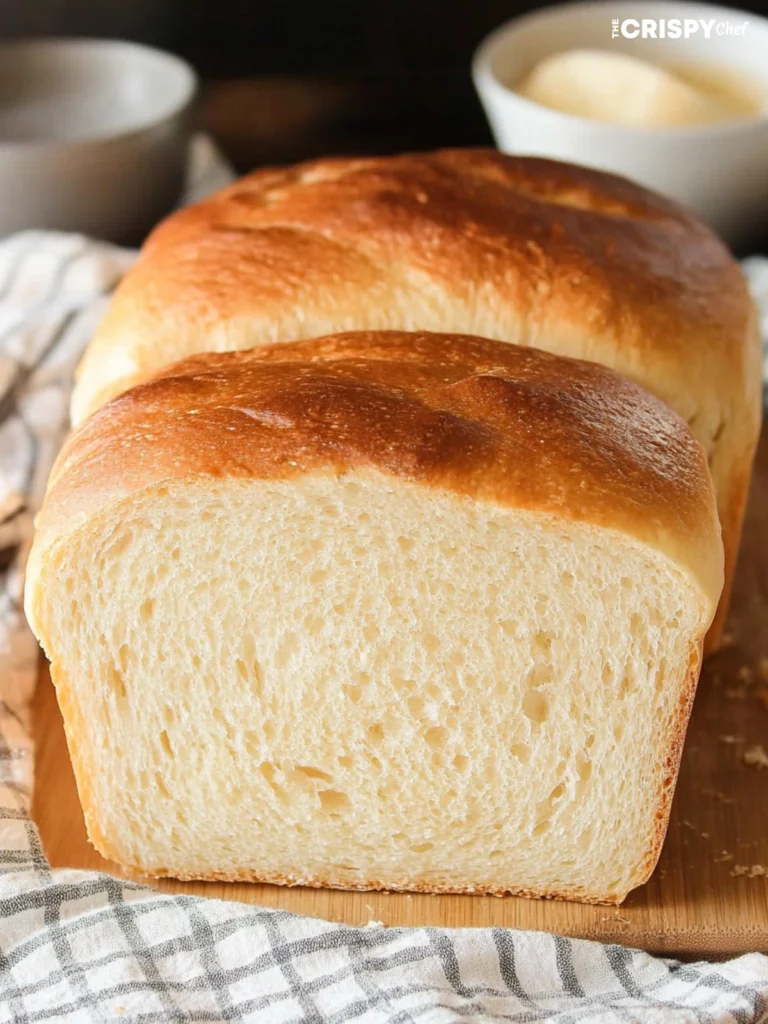
Table of Contents
Key Takeaways
- Homemade sourdough sandwich bread is soft, fluffy, and packed with flavor
- The recipe uses simple ingredients like all-purpose flour, olive oil, honey, and active sourdough starter
- Achieves a light, tight crumb and thin, crispy crust through the sourdough fermentation process
- Perfect for sandwiches, toast, and other bread-based recipes
- Easy to make at home with minimal hands-on time
Why Make Your Own Sourdough Sandwich Bread
Making your own homemade sourdough bread at home has many benefits. You get to choose what goes into it, avoiding additives and preservatives found in store-bought bread.
Benefits of Homemade vs Store-Bought Bread
Homemade sourdough sandwich bread is healthier and tastes better. The fermentation process makes the bread easier to digest. Plus, making bread from scratch is a calming and rewarding experience.
Understanding Sourdough Fermentation
The fermentation process is key to sourdough health benefits. It uses natural yeasts and bacteria to break down starches and proteins. This makes the bread more nutritious and digestible.
Health Benefits of Sourdough Bread
Sourdough bread is healthier than commercial bread. The fermentation increases nutrient bioavailability. It also avoids added sugars, preservatives, and other additives found in store-bought loaves.
“Baking your own sourdough bread at home is a rewarding experience that connects you to the rich tradition of artisanal bread-making.”
Essential Ingredients for Perfect Sourdough Sandwich Bread
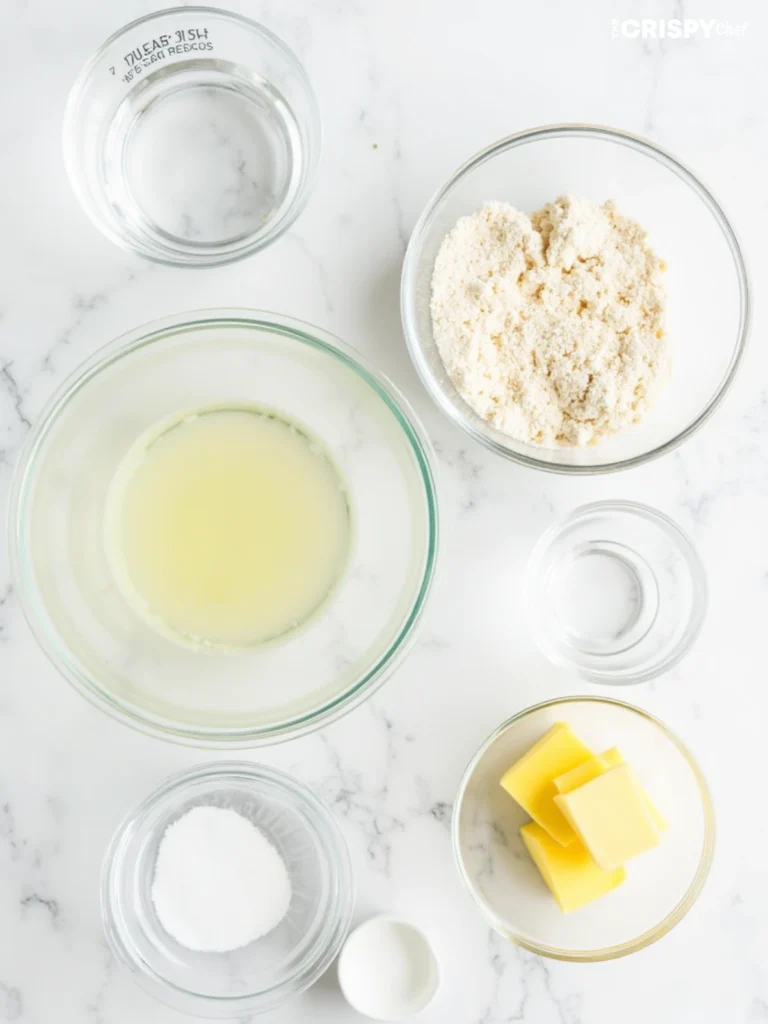
Making the perfect sourdough sandwich bread needs the right ingredients. You’ll need unbleached all-purpose flour, warm water, active sourdough starter, honey, light olive oil, and kosher salt.
For the best results, use King Arthur Flour’s all-purpose flour. It has a consistent protein and texture. Warm water, about 80°F, is used to activate the sourdough starter and develop gluten.
The sourdough starter is the bread’s heart. Feed it 8-12 hours before baking to ensure it’s ready. Honey or maple syrup add sweetness, while olive oil makes the bread tender.
Kosher salt, like Morton’s, adds flavor and balances the sweetness. These ingredients together make a delicious loaf with a crispy crust and soft inside.
| Ingredient | Amount | Percentage |
|---|---|---|
| Medium-protein bread flour or All-purpose flour | 1,350 grams | 75.0% |
| Water | 882 grams | 49.0% |
| Ripe sourdough starter | 180 grams | 10.0% |
| Olive oil | 126 grams | 7.0% |
| Honey | 72 grams | 4.0% |
| Salt | 32 grams | 1.8% |
These ingredients come together to make the perfect sourdough sandwich bread. It has a crisp crust and a soft, flavorful inside.
Required Tools and Equipment
To bake homemade sourdough sandwich bread, you need some key tools and equipment. A stand mixer with a dough hook can make kneading easier. But, you can also knead by hand to strengthen the dough’s gluten structure.
Stand Mixer vs Hand Kneading Options
Using a stand mixer with a dough hook can save time and effort. But, kneading by hand can be rewarding. It lets you feel the dough’s texture and learn about dough development.
Bread Pans and Other Essentials
A 9″x5″ loaf pan is perfect for sourdough sandwich bread. It ensures your slices are just right. You’ll also need a Danish dough whisk for mixing and a metal bench scraper for shaping the dough.
Optional but Helpful Tools
- Kitchen scale for precise ingredient measurements
- Proofing baskets or bannetons to shape the dough
- A lame or razor blade for scoring the dough before baking
While these tools can improve your sourdough bread-making, they’re not essential. With the basic equipment, you can still make delicious sourdough sandwich bread at home.
Preparing Your Active Sourdough Starter
To make delicious homemade sourdough sandwich bread, you need a lively sourdough starter. Start by mixing 2 teaspoons (10g) of starter, 3 tablespoons (25g) of flour, and 5 teaspoons (25g) of water in a clean jar. Let it sit at room temperature (68-72°F) for about 12 hours, or until it doubles in size.
For quicker results, try using equal parts of starter, water, and flour. This mix should make your starter active and bubbly. An active starter is key for your bread to rise well during baking.
| Sourdough Starter Preparation | Quantity |
|---|---|
| Existing Sourdough Starter | 2 teaspoons (10g) |
| All-Purpose Flour | 3 tablespoons (25g) |
| Water | 5 teaspoons (25g) |
When your starter is active and bubbly, it’s time to use it in your sourdough bread. Keeping your starter healthy and fed will help you make great bread every time.
“An active, bubbly sourdough starter is the secret to baking the perfect loaf of homemade sourdough bread.”
Sourdough Sandwich Bread Recipe
Detailed Ingredient Measurements
Making the perfect sourdough sandwich bread needs exact ingredient amounts. For one loaf, you’ll need:
- 500 grams Bread Flour (Bob’s Mill brand recommended)
- 100 grams Active Sourdough Starter
- 260 grams Filtered Water (do not use well, sink, or refrigerator water)
- 10 grams Salt
- 20 grams Sugar
- 2 Tablespoons Butter, softened (plus more for brushing the bread)
Step-by-Step Mixing Instructions
Start by mixing all ingredients in a stand mixer for 1-2 minutes. Add the softened butter while mixing to ensure it’s fully incorporated. Then, mix with a dough hook for 10 minutes.
Let the dough rest for 10 minutes. Repeat the stretch and fold process three more times. Each rest time is 30 minutes.
Fermentation Timeline
The sourdough fermentation process takes two days. This allows for the best flavor. After mixing, the dough needs a 10-12 hour first rise at 68-72°F.
Once shaped and in the pan, the second rise is 2-3 hours. It should reach 1 inch above the pan rim. This long fermentation makes the bread delicious and authentic.
“The key to a perfectly baked sourdough sandwich loaf is patience and attention to the fermentation timeline. Rushing the process will result in a subpar crumb and flavor profile.”
Shaping and Proofing Techniques
Learning sourdough shaping and bread proofing is key to making perfect homemade sourdough sandwich bread. These skills greatly affect the bread’s texture, rise, and look. They make your freshly baked bread stand out.
After mixing the dough and the first fermentation, it’s time to shape it. Turn the dough onto a lightly floured surface. Shape it into a 9 by 12 inches rectangle. Roll it into a tight log, sealing the seams and ends well.
Put the shaped dough, seam-side down, into a greased 9×4-inch loaf pan. Cover it and let it proof for 10 to 12 hours at a cool room temperature, best overnight. This long proofing time helps the dough rise and develop its sourdough flavor.
Proper shaping is vital for the dough’s tension. This tension leads to a better oven spring and texture. The proofing time can change with temperature. Watch the dough to rise about 1 inch above the pan rim before baking.
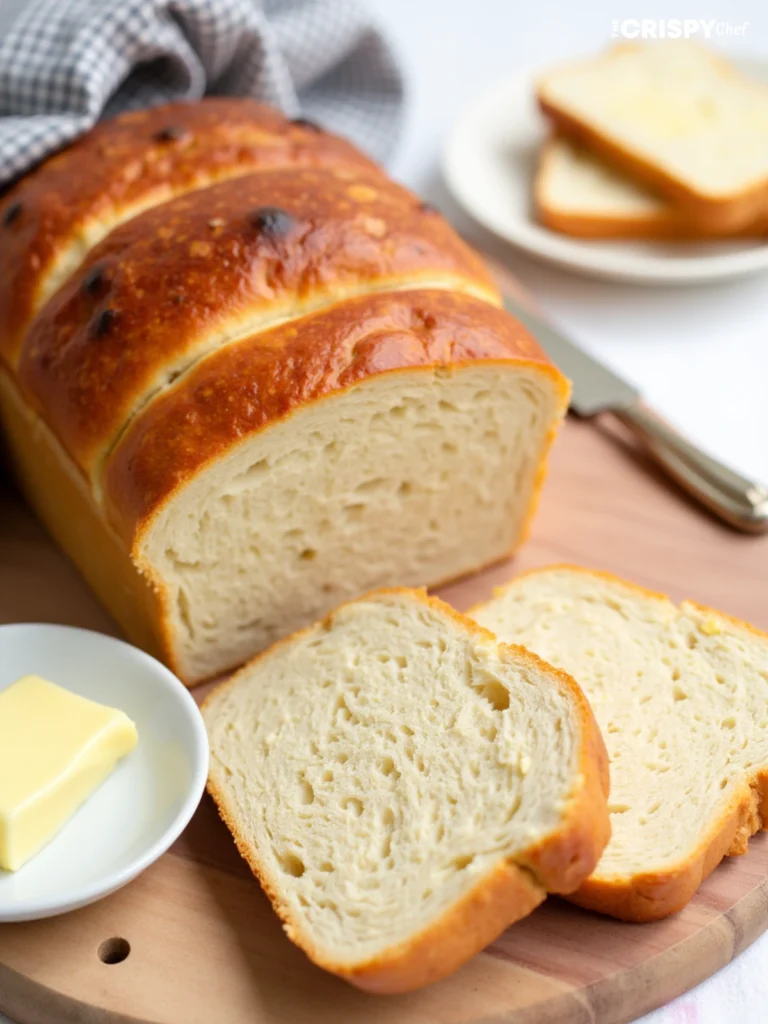
By mastering sourdough shaping and bread proofing, you’ll bake a wonderful homemade sourdough sandwich bread. It will wow your family and friends. Try different shapes and proofing times to find what works best for you.
Baking Methods and Temperature Guidelines
To make the perfect sourdough sandwich bread, you need to master the baking process. First, preheat your oven to a very hot 450°F (232°C). Then, lower the temperature to 375°F (190°C) once you put the bread in. This high heat at the start helps create a crispy, golden crust.
Creating the Perfect Crust
To get an amazing crust, spray the loaf with water right before baking. This, along with the high oven temperature, makes the crust crackle and caramelize. For even better results, add a few ice cubes to the oven floor. The steam from them will make the crust even better.
Using Steam for Better Results
Steam is key in sourdough baking. It helps the dough expand and rise early in the baking process, called “oven spring.” This makes the bread lighter and more appealing. Keep the oven door closed for the first 15-20 minutes to keep the steam in.
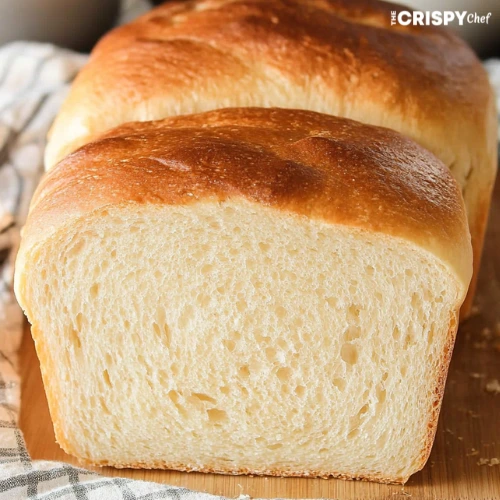
Your sourdough sandwich bread is done when it reaches an internal temperature of 190°F (88°C). This ensures a perfect balance of a crispy crust and a soft, tasty crumb. Follow these baking methods and temperature guidelines to make sourdough perfection in your kitchen.
Storage and Freezing Tips
After baking your homemade sourdough sandwich bread, it’s time to think about storage. Proper storage keeps your bread fresh and tasty for days. It’s important to keep your bread soft and flavorful.
To store your sourdough for a short time, keep it at room temperature for up to 3 days. Use a paper or cloth bag, beeswax wrap, or a clean towel. This method helps keep the crust crisp and prevents drying out.
For longer storage, the freezer is a great option. Slice the loaf and wrap each slice in plastic wrap or freezer bags. This way, slices won’t stick together and can be easily thawed. Frozen slices can be toasted directly from the freezer for up to 2 months.
| Storage Method | Shelf Life |
|---|---|
| Room temperature (in bread bag or wrap) | Up to 3 days |
| Frozen (sliced and individually wrapped) | Up to 2 months |
Always let your sourdough loaf cool completely before storing or freezing. This prevents mold and staling. With these tips, you can enjoy your homemade sourdough bread for weeks.
Troubleshooting Common Issues
Baking sourdough bread can sometimes present a few challenges, but with the right adjustments, you can overcome common problems. Let’s explore some troubleshooting tips to help you achieve the perfect sourdough sandwich bread.
Fixing Dense or Gummy Bread
If your sourdough bread turns out dense or gummy, the issue may be related to the proofing process. Ensure that your sourdough starter is active and at its peak when you incorporate it into the dough. Also, make sure to allow ample time for the dough to rise during both the bulk fermentation and final proofing stages. If the dough is underproofed, it can result in a dense, heavy texture.
Addressing Rising Problems
Inconsistent rising or a lack of rise can be frustrating, but there are a few factors to consider. First, check the activity of your sourdough starter. If it’s not as lively as it should be, try adjusting the feeding schedule or trying a different flour. The ambient temperature in your kitchen can also play a role in the dough’s rise.
In cooler environments, you may need to extend the proofing times or use a slightly larger amount of starter. Conversely, warmer kitchens may cause the dough to overproof, so keep a close eye on the rising process and adjust as necessary.
FAQ
What are the key ingredients for making a soft, fluffy sourdough sandwich bread?
You’ll need unbleached all-purpose flour, warm water, and an active sourdough starter. Honey, light olive oil, and kosher salt are also key.
What are the benefits of making homemade sourdough bread compared to store-bought?
Making your own sourdough bread lets you pick the ingredients. You avoid additives and might find it easier to digest. Plus, baking at home is a calming and rewarding experience.
How do I prepare an active sourdough starter for this recipe?
Start with 2 teaspoons of sourdough starter, 3 tablespoons of flour, and 5 teaspoons of water. Mix well and let it sit at room temperature for 12 hours. It should double in size.
What essential tools do I need to make this sourdough sandwich bread?
You’ll need a 9″x5″ loaf pan and a Danish dough whisk for mixing. A metal bench scraper is great for shaping. A stand mixer with a dough hook attachment is optional.
How do I properly shape and proof the sourdough dough before baking?
First, shape the dough into a rectangle and roll it into a log. Place it seam-side down in a greased 9×4″ loaf pan. Let it proof for 10-12 hours at cool room temperature. It should rise 1 inch above the pan rim.
What’s the best way to bake the sourdough sandwich bread for a crispy crust?
Preheat your oven to 450°F. Then, reduce the temperature to 375°F when you put the bread in. Spray the loaf with water and add ice cubes for steam. This helps create a crispy crust.
How should I store and freeze the homemade sourdough bread?
Store the bread at room temperature in a bread bag or beeswrap for up to 3 days. For longer storage, slice and freeze the bread. Wrap individual slices in plastic wrap and store in a freezer-safe container.
What could cause my sourdough bread to turn out dense or gummy?
Dense or gummy bread often comes from not proofing it enough or using an inactive starter. Cutting the bread before it cools fully can also make it gummy inside.
Sourdough Sandwich Bread
Equipment
- Stand mixer (optional)
- Danish dough whisk
- 9"x5" loaf pan
- metal bench scraper
- Kitchen scale
- proofing basket (optional)
Ingredients
- 500 grams Bread Flour Bob’s Mill recommended
- 100 grams Active Sourdough Starter
- 260 grams Filtered Water
- 10 grams Salt
- 20 grams Sugar
- 2 Tablespoons Butter softened (plus more for brushing the bread)
Instructions
- Mix all ingredients in a stand mixer for 1-2 minutes.
- Add softened butter and continue mixing until fully incorporated.
- Knead with a dough hook for 10 minutes.
- Let the dough rest for 10 minutes. Repeat the stretch and fold process three times with 30-minute rests in between.
- Allow the dough to ferment at room temperature for 10-12 hours.
- Shape the dough into a rectangle and roll it into a log. Place it in a greased 9″x4″ loaf pan.
- Proof for 10-12 hours at a cool room temperature until the dough rises 1 inch above the pan rim.
- Preheat the oven to 450°F (232°C). Lower the temperature to 375°F (190°C) when the bread is in the oven.
- Spray the loaf with water before baking. Optionally, add ice cubes to the oven floor to create steam.
- Bake for 30-40 minutes until the bread reaches an internal temperature of 190°F (88°C).
- Let the bread cool completely before slicing or storing.
Nutrition



3 thoughts on “Easy Homemade Sourdough Sandwich Bread Recipe”