Tired of complicated pies that take hours to make and look a little bit messy? You want a dessert that’s not only delicious but also easy to make, a little bit rustic, and a lot of fun. You want something that’s sweet, satisfying, and a total crowd-pleaser. That’s where this incredible apple crisp recipe comes in. It’s the kind of dessert that makes you a hero at any dinner party, even if you just stirred a few ingredients together, and trust me, it’s going to become a staple in your home.

My love for this recipe started out of pure laziness. I had a huge bag of apples from the farmer’s market and I was in the mood for something sweet. I figured, why not try a crisp? I threw in a bunch of oats, some brown sugar, and a few other pantry staples, and the result was a warm, bubbly, and incredibly easy dessert. It turned a boring weeknight dinner into something truly special. The best part? The kitchen smelled amazing! Since then, I’ve spent a lot of time perfecting my own version, and I can say with confidence that this easy apple crisp is a total game-changer. It looks incredibly impressive, but it’s so much easier to make than you might think.
Why This Apple Crisp Is a Total Game-Changer
You might think a crisp is just a crisp, but this recipe is truly something special. It takes a simple dessert and elevates it in a few very important ways.
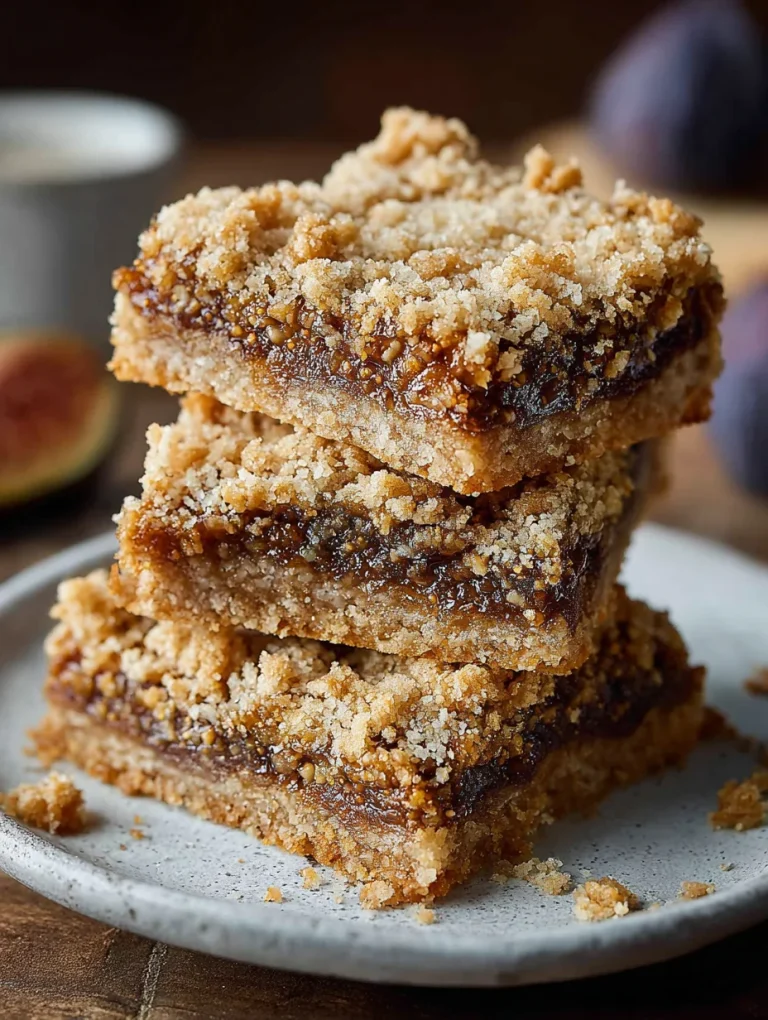
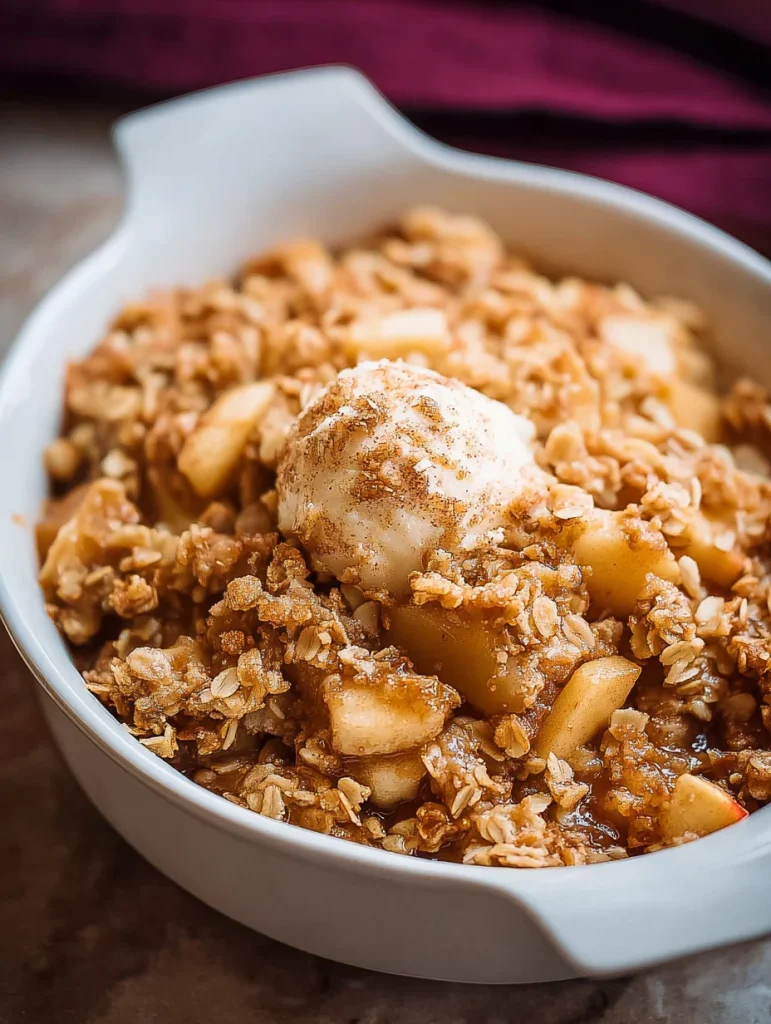
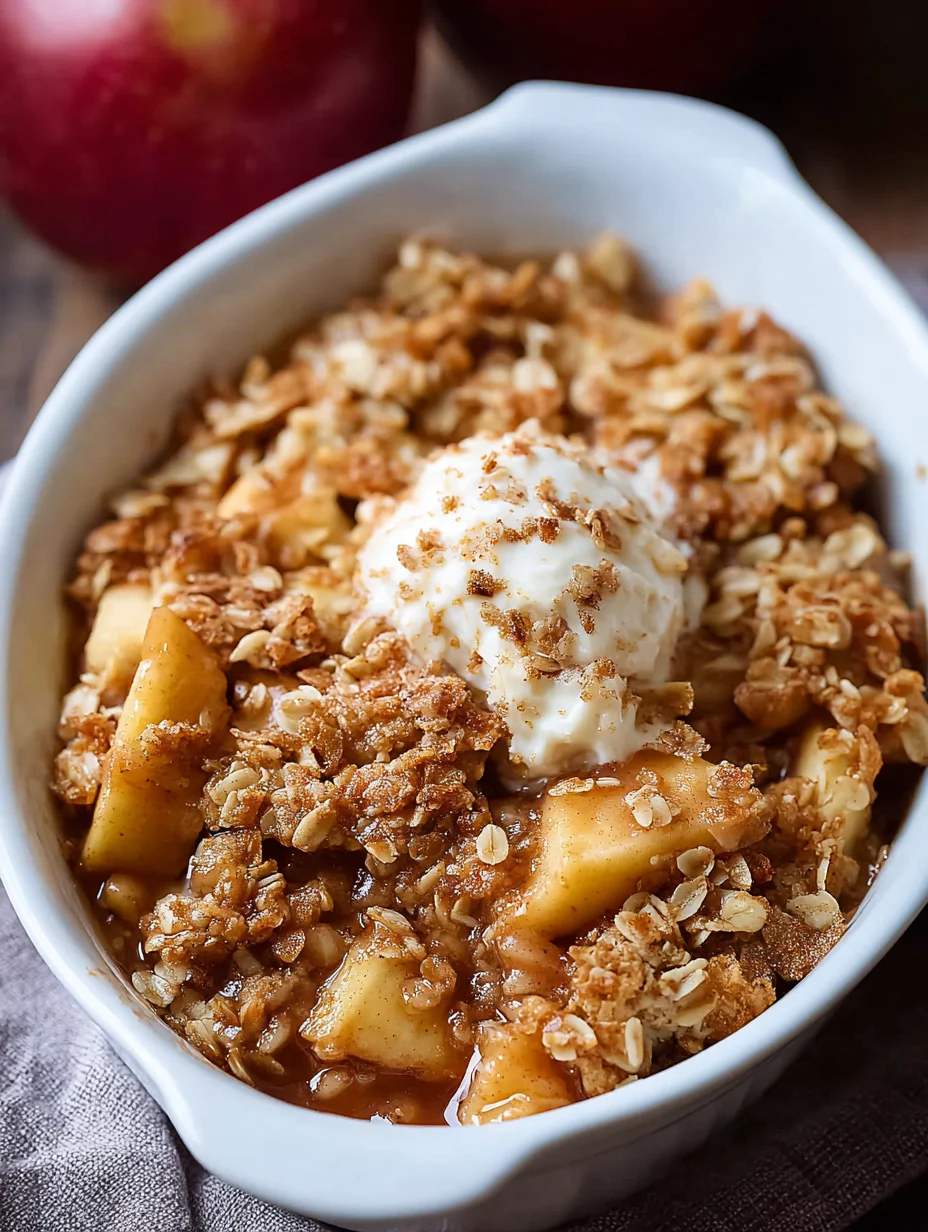
First, there’s the incredible texture. The contrast between the soft, tender apples and the crunchy, buttery topping is pure perfection. The topping is golden brown and crispy, and the apples are soft and sweet. It’s a perfect mix of textures that makes them irresistible. Second, there’s the unique flavor profile. The natural sweetness of the apples is a perfect match for the nutty, warm flavor of the oats and the spicy kick of the cinnamon. It’s a complex, balanced flavor that’s not too sweet, not too rich—it’s just right.
Finally, it’s an incredibly forgiving recipe. This homemade apple crisp is a fantastic recipe for a beginner baker. It doesn’t require any fancy techniques or special equipment. You can literally just mix, scoop, and bake. It’s so easy, you’ll feel like you’re cheating. This simple dessert is perfect for anyone who loves a good baked good but doesn’t have a lot of time to spend in the kitchen.
Your Dream Team of Ingredients
The best part about this recipe is that it uses a handful of ingredients you can find at any grocery store. You don’t need a trip to a specialty store or a long shopping list. Just a few key players to create a legendary dessert.
- Apples: This is the most important ingredient. I prefer using a combination of apples for a complex flavor and texture. I like to use a mix of a sweet apple, like a Honeycrisp or a Fuji, and a tart apple, like a Granny Smith.
- Oats: This is the secret to a crispy, nutty topping.1 I prefer using old-fashioned rolled oats for a chewier texture.
- Brown Sugar: The brown sugar adds a beautiful, rich flavor to both the filling and the topping.2 It also helps to create a beautiful, gooey caramel sauce.
- Butter: The butter is the secret to a tender, flavorful topping. Use a high-quality, cold, unsalted butter and cut it into small pieces.
- Other Pantry Staples: You’ll also need a little bit of all-purpose flour, a little bit of cinnamon, a pinch of nutmeg, and a little bit of salt.3
The Step-by-Step Guide to Crisp Perfection
This recipe is so straightforward, you’ll be making it with your eyes closed after the first time. The key is to have all your ingredients prepped and ready to go before you start assembling.
Step 1: Prep Your Oven and Pan
Preheat your oven to 375°F (190°C). Grease a 9×13-inch baking dish. You can also use a smaller 8×8-inch pan for a thicker, more gooey crisp.
Step 2: Make the Filling
In a large bowl, combine the sliced apples, a little bit of brown sugar, a little bit of all-purpose flour, and a pinch of cinnamon. Toss everything together until the apples are well-coated. Pour the mixture into your prepared baking dish and spread it into an even layer.
Step 3: Make the Topping
In a separate bowl, combine the oats, all-purpose flour, brown sugar, a little bit of cinnamon, and a pinch of salt.4 Use your fingers to cut in the cold, cubed butter until the mixture resembles coarse crumbs. Sprinkle the topping evenly over the apple filling.
Step 4: Bake to Perfection
Bake for about 40-45 minutes, or until the topping is golden brown and the filling is bubbly. Let it cool for a few minutes before you serve it. This is a crucial step! It will help the filling set up and make it easier to scoop out.
Beyond the Basics: My Favorite Remixes
The classic best apple crisp is pure perfection, but you can also use it as a base for endless flavor combinations.
- The Different Fruit: You can use any fruit you have on hand. Peaches, berries, or even a little bit of rhubarb would be delicious.
- The Spiced Twist: Add a little bit of ginger, a little bit of cardamom, or a little bit of allspice to the filling and topping for a warm, spicy flavor.
- The Nutty Topping: Add a handful of chopped walnuts or pecans to the topping mixture for an extra crunch and a nutty flavor.
- The Glazed Topping: For a little extra something, you can make a simple caramel sauce to drizzle over the top.5 Just whisk together some brown sugar, butter, and a little bit of cream until you get a smooth, thick sauce.
FAQs: Your Crisp Questions Answered!
How do I know when it’s done?
The best way to tell is to look at the topping. It should be golden brown and the filling should be bubbling and thick. You can also insert a knife into the filling to make sure the fruit is tender.
Can I use frozen apples?
Yes, you can! Just make sure to thaw them first and drain them very well. You can also use them frozen, but you’ll need to add a few extra minutes to the baking time.
How do I store it?
You can store this crisp in an airtight container in the fridge for up to 5 days. To reheat it, just pop it in the microwave for a few seconds or in the oven for a few minutes.
Why is my topping soggy?
This is a common issue, and it’s usually because you didn’t get all the liquid out of the apples. The key here is to drain the apples very well and to use a little bit of flour to help it thicken up.
Can I make this ahead of time?
Yes, you can! You can assemble the crisp up to 24 hours in advance and store it in the fridge. Just add a few extra minutes to the baking time.
So there you have it. A guide to making the most delicious, tender, and beautiful Apple Crisp you’ll ever have. It’s a simple, brilliant idea that solves all your dessert dilemmas. The next time you’re craving something sweet, you’ll know exactly what to make. Go forth and bake! You’ve got this.
Apple Crisp
Equipment
- 9×13-inch baking dish
- Mixing bowls
- Knife
- Cutting board
Ingredients
- 6 cups apples, peeled, cored, and sliced (mix of sweet and tart)
- 1/4 cup brown sugar (for filling)
- 1 tbsp all-purpose flour (for filling)
- 1 tsp cinnamon (for filling)
- 1 cup old-fashioned rolled oats
- 1/2 cup all-purpose flour (for topping)
- 1/2 cup brown sugar (for topping)
- 1 tsp cinnamon (for topping)
- 1/4 tsp nutmeg
- 1/4 tsp salt
- 1/2 cup unsalted butter, cold and cubed
Instructions
- Preheat oven to 375°F (190°C). Grease a 9×13-inch baking dish (or 8×8 for a thicker crisp).
- In a large bowl, toss sliced apples with brown sugar, flour, and cinnamon. Spread evenly in the baking dish.
- In another bowl, mix oats, flour, brown sugar, cinnamon, nutmeg, and salt. Cut in cold butter until mixture is crumbly.
- Sprinkle topping evenly over apples. Bake 40–45 minutes until topping is golden and filling is bubbly. Cool slightly before serving.