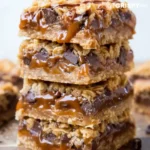
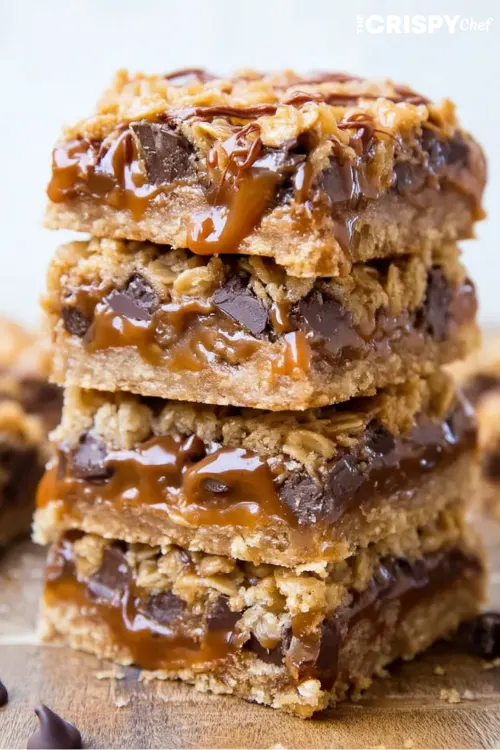
Carmelitas are seriously addictive! Been making these chewy oatmeal bars for years and they never disappoint. The combo of buttery oats, melty chocolate chips and gooey caramel is basically heaven. Carmelitas have this perfect balance of textures – crunchy oatmeal crust, smooth caramel middle, and that crumbly topping that just works. Not gonna lie these disappear FAST whenever I make them. Keep reading to find out my secret trick for getting that caramel layer just right!
Why You’ll Love These Carmelitas
Tired of boring cookie bars? These carmelitas solve that problem real quick. First time I made these was for my sister’s birthday and everyone kept asking for the recipe. The best part is how versatile they are – you can switch up the chocolate type, add nuts, or even throw in some coconut if you’re feeling fancy.
What makes these carmelitas special is how simple they are to make despite looking super impressive. Don’t need any fancy equipment or weird ingredients. Just basic stuff you prob already have in your pantry. And the smell while they’re baking? Unreal. Your whole house gonna smell amazing.
Ingredients for Perfect Carmelitas
For the Oatmeal Base and Topping:
- 2 cups all-purpose flour – provides structure, can sub half with whole wheat if you want
- 2 cups old-fashioned rolled oats – don’t use quick oats they’ll get mushy
- 1½ cups brown sugar – dark or light works but dark gives deeper flavor
- 1 tsp baking soda – helps with texture
- ¼ tsp salt – balances sweetness
- 1 cup butter melted – salted or unsalted both fine but adjust salt if using salted
- 1 tsp vanilla extract – pure is best but imitation works too
For the Filling:
- 1 cup chocolate chips – semi-sweet is classic but milk or dark work great too
- 1 cup caramel sauce – store-bought works but homemade is better if you got time
- 3 tbsp all-purpose flour – thickens caramel so it doesn’t soak into crust
Honestly the ingredients are super flexible. No vanilla? Skip it. Wanna make it extra decadent? Double the chocolate chips. These carmelitas are pretty forgiving.
If you’re dealing with dietary restrictions, you can make these gluten-free by using GF flour and certified GF oats. For dairy-free version, use plant-based butter and dairy-free chocolate chips but finding dairy-free caramel might be tricky.
How to Make Carmelitas
Step 1: Prep Work
- Preheat oven to 350°F. Super important not to skip this step
- Line 9×13 baking pan with parchment paper or foil and spray with cooking spray
- Make sure paper hangs over edges so you can lift bars out easily later
Step 2: Make the Oatmeal Mixture
- In large bowl mix flour, oats, brown sugar, baking soda and salt
- Pour in melted butter and vanilla
- Stir until everything combined and mixture looks like wet sand
- Should be crumbly but hold together when pressed
Step 3: Assemble and Bake First Layer
- Press HALF the oat mixture into bottom of pan
- Use bottom of measuring cup to really pack it down tight
- Bake for 10 mins until edges just barely starting to turn golden
- Remove from oven but keep oven on
Step 4: Add Filling Layers
- Sprinkle chocolate chips evenly over the hot crust
- Mix caramel sauce with 3 tbsp flour in small bowl
- Drizzle caramel mixture over chocolate chips
- Try to spread evenly but don’t worry if it’s not perfect
Step 5: Add Topping and Final Bake
- Crumble remaining oat mixture over the top
- Don’t press down just sprinkle it evenly
- Bake for 15-20 mins until top looks golden brown
- Edges should be bubbling slightly when done
Step 6: Cooling (Most Important Part!)
- Let cool in pan on wire rack for at least 1 hour
- Then refrigerate for 2+ hours before cutting
- If you cut too soon they’ll fall apart trust me on this
- Use parchment to lift out whole thing then cut into squares
The cooling time seems long but it’s crucial for carmelitas! The caramel needs time to set up or you’ll end up with a messy (but still delicious) situation.
Awesome Carmelitas Variations
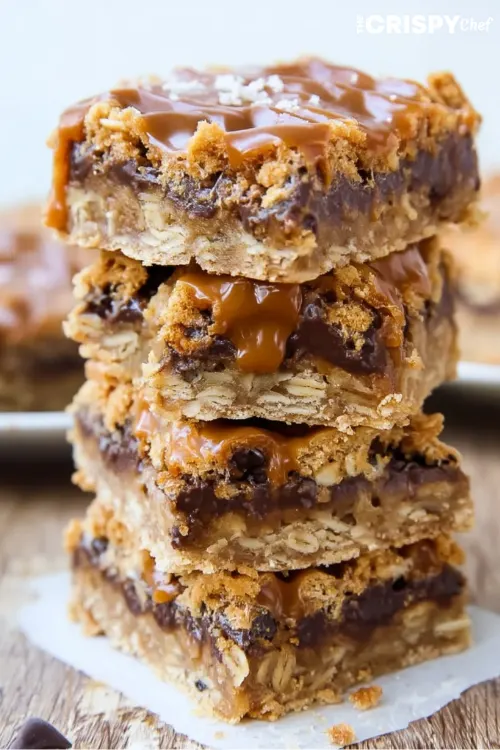
Salted Caramel Carmelitas
Add flaky sea salt on top before baking for that sweet-salty combo that’s so good
Turtle Carmelitas
Mix in 1/2 cup chopped pecans with the chocolate chips and drizzle with extra caramel after baking
White Chocolate Cranberry Carmelitas
Swap regular chips for white chocolate and add 1/2 cup dried cranberries for holiday vibes
Triple Chocolate Carmelitas
Use mix of milk dark and white chocolate chips instead of just one type
Peanut Butter Carmelitas
Swirl 1/4 cup melted peanut butter into the caramel layer before adding topping
S’mores Carmelitas
Add 1/2 cup mini marshmallows to the filling and use graham cracker crumbs instead of some flour in base
These variations keep things interesting when you’ve made the classic carmelitas a bunch of times and want something new. The base recipe is so adaptable!
Carmelitas FAQ (Questions People Ask)
How do I store carmelitas and how long do they last?
Store in airtight container. Room temp for 3-4 days or fridge for up to a week. Can also freeze for 3 months! Just wrap individually in plastic wrap then put in freezer bag. Thaw overnight in fridge before eating.
Can I make carmelitas ahead of time?
Absolutely! Actually taste better day after making. Prep everything day before party, refrigerate overnight, then slice before serving. Perfect make-ahead dessert.
Why did my caramel soak into the crust?
Prob didn’t mix flour into caramel sauce. The flour thickens it and prevents soaking. Also make sure base layer baked properly before adding filling.
Can I use quick oats instead of old-fashioned?
Not recommended. Quick oats absorb more moisture and change texture. If desperate can use them but bars might be less chewy and more cakey.
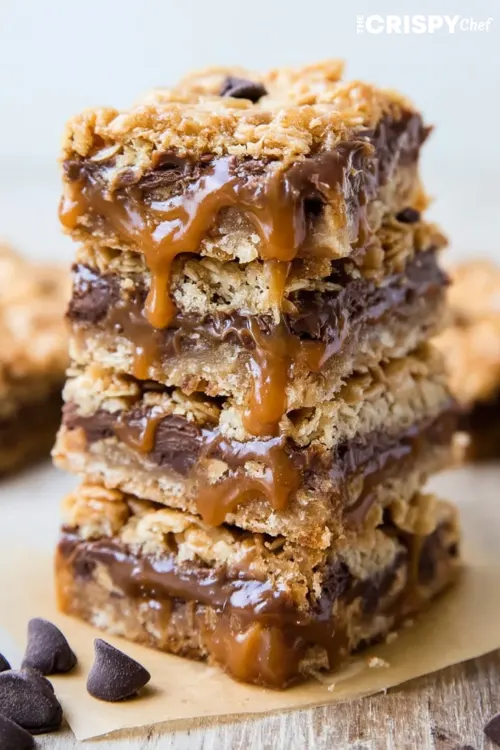
Are carmelitas supposed to be gooey in the middle?
Yes! That’s what makes them so good! When properly cooled should be soft and slightly gooey in center but hold together when cut. If too gooey might need longer baking time or cooling time.
What’s the best caramel sauce to use for carmelitas?
Thick caramel works best. Can use jarred ice cream topping but might need to reduce it first. Homemade caramel sauce best option but good quality store-bought fine too.
Can I double the recipe?
Yes but use two 9×13 pans instead of one bigger pan. Otherwise outside will burn before middle cooks properly.
If you love these carmelitas, you might also enjoy my Cottage Cheese Protein Brownies for a healthier treat option or Cheesecake Brownies for another indulgent dessert bar!
Tips for Perfect Carmelitas Every Time
Patience is key with these bars! Seriously the hardest part is waiting for them to cool completely. Cut them too soon and you’ll have a mess (delicious mess but still).
Using parchment paper non-negotiable here. Makes it so much easier to remove from pan and prevents sticking.
Don’t overbake! They should look slightly underdone when you take them out cause they continue cooking as they cool.
For clean cuts refrigerate first then use sharp knife wiped clean between cuts. Can also run knife under hot water between slices.
Final Thoughts on Carmelitas
Making these carmelitas brings back memories of weekend baking with my kids. Started as something to keep them busy on rainy day but became our family tradition. Even my picky father-in-law who “doesn’t like sweets” ate three in one sitting!
What I love most about carmelitas is how they combine simple traditional ingredients into something that feels special. Nothing fancy but somehow greater than sum of their parts. Everyone has their own perfect ratio of crust to filling – some ppl want more caramel others want extra chocolate.
Make these your own! Add whatever mix-ins speak to you and don’t stress about perfection. The beauty of carmelitas is in their rustic homemade quality. They’re meant to be shared with people you care about not just photographed for Instagram (tho they are pretty photogenic).
Give these homemade carmelitas a try next time you need easy impressive dessert. Promise they’ll become regular in your baking rotation just like they have in mine!

Carmelitas Caramel Bars
Equipment
- 9×13-inch baking pan
- Parchment paper
- Large mixing bowl
- Small mixing bowl
- Measuring cups and spoons
- Oven
Ingredients
- For the Oatmeal Base and Topping:
- 2 cups all-purpose flour
- 2 cups old-fashioned rolled oats
- 1½ cups brown sugar packed
- 1 tsp baking soda
- ¼ tsp salt
- 1 cup butter melted
- 1 tsp vanilla extract
- For the Filling:
- 1 cup chocolate chips semi-sweet or your choice
- 1 cup caramel sauce
- 3 tbsp all-purpose flour
Instructions
- Preheat oven to 350°F (175°C). Line a 9×13-inch pan with parchment paper and lightly spray with cooking spray.
- In a large bowl, combine flour, oats, brown sugar, baking soda, and salt. Stir in the melted butter and vanilla extract until the mixture resembles wet sand.
- Press half of the oat mixture into the bottom of the prepared pan. Use the bottom of a measuring cup to pack it down tightly. Bake for 10 minutes, until the edges just begin to turn golden. Remove from the oven, but keep it on.
- Sprinkle the chocolate chips evenly over the hot crust. In a small bowl, mix the caramel sauce with 3 tbsp flour. Drizzle the caramel mixture over the chocolate chips.
- Crumble the remaining oat mixture over the caramel layer, spreading evenly. Do not press it down.
- Bake for 15-20 minutes, or until the top is golden brown and the edges are bubbling slightly.
- Allow to cool in the pan on a wire rack for at least 1 hour, then refrigerate for 2 hours before cutting into squares.
1 thought on “Carmelitas Caramel Bars”