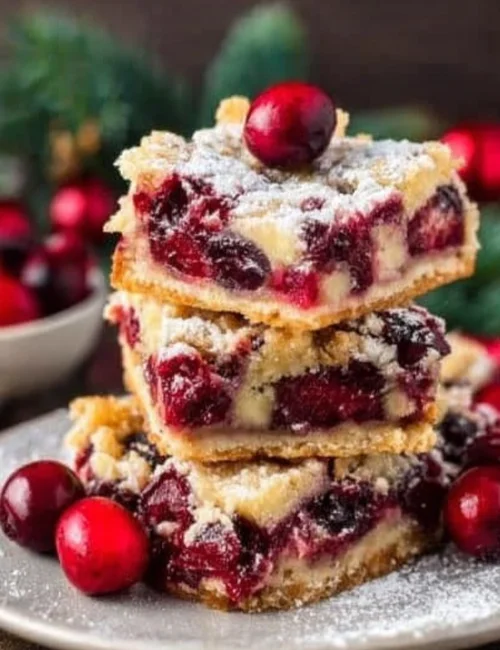
These Christmas Cherry Bars are a delightful treat, perfect for the festive season. They’re soft, sweet, and topped with that wonderful cherry goodness. Easy to make, these bars are a great addition to any holiday gathering, bringing warmth and coziness to your table.
Why You Will Love This Recipe
This recipe is a true crowd-pleaser. It’s simple and quick, making it easy to whip up for family gatherings or last-minute holiday parties. The ingredients are straightforward and often found in your pantry, which means less time shopping, and more time enjoying your loved ones. Each bite is a perfect balance of sweet cherry and tender cake, making these bars a lovely dessert for both kids and adults.
How to Make Christmas Cherry Bars
Making these delightful bars is easy. You begin by creating a creamy batter, then layering it with sweet cherry filling. Simple steps guide you through mixing and baking, ensuring success even for novice bakers. In no time, your home will be filled with the warm scent of baked goodness.
What You Need
- 1 cup butter (softened) (Provides the rich, buttery base for the bars.)
- 2 cups sugar (Adds sweetness and helps create a tender texture.)
- 4 eggs (Adds richness and structure to the batter.)
- 1 tsp vanilla extract (Enhances the flavor of the bars with a warm, aromatic note.)
- 3 cups all-purpose flour (The main dry ingredient that forms the structure of the bars.)
- 1 tsp salt (Balances the sweetness and enhances the overall flavor.)
- 1 can – 21 ounces cherry pie filling (Provides the sweet and tangy topping that makes these bars festive.)
Cooking Steps
- Preheat and Prepare: Preheat your oven to 350°F (175°C). Lightly grease a 9×13 inch baking pan.
- Make the Batter: In a large mixing bowl, cream the softened butter and sugar until light and fluffy. Beat in the eggs one at a time, then blend in the vanilla extract.
- Combine Dry Ingredients: In another bowl, mix together the flour and salt. Gradually mix these dry ingredients into the creamed mixture until fully incorporated.
- Assemble the Layers: Spread 3 cups of the batter evenly into the bottom of the prepared pan. Gently spread the cherry pie filling over the layer of batter. Drop small clumps of the remaining batter over the cherry filling.
- Baking: Bake in the preheated oven for 35-40 minutes, or until the top is golden brown and a toothpick inserted into the center comes out clean.
- Cooling: Allow the bars to cool completely on a wire rack before adding the glaze.
- Adding the Glaze (Optional): Whisk together the powdered sugar, milk, and vanilla extract until smooth. Drizzle the glaze over the cooled bars.
- Finish and Serve: Cut the dessert into bars after the glaze has set. Serve and enjoy.
Best Ways to Enjoy It
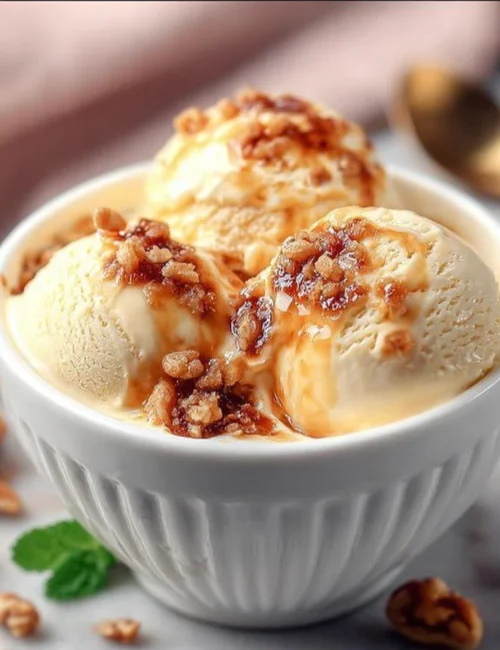
These cherry bars are perfect for holiday parties, family gatherings, or cozy nights at home. Serve them with a scoop of vanilla ice cream for a delightful contrast. They pair beautifully with a warm cup of tea or hot cocoa. You can also enjoy these bars as a sweet afternoon snack, making any day feel special.
How to Store Christmas Cherry Bars
To keep your bars fresh, store them in an airtight container at room temperature for up to three days. If you want to keep them longer, consider refrigerating them, where they’ll stay good for up to a week. You can also freeze the bars for up to three months. Just make sure to wrap them well and let them thaw in the fridge before serving.
Helpful Cooking Notes
- Use room temperature butter for easier creaming with sugar.
- Make sure to spread the cherry filling gently to avoid disrupting the batter too much.
- Check your oven regularly during baking to avoid overcooking.
- Let the bars cool completely before cutting for cleaner edges.
- Feel free to adjust the amount of cherry filling based on your taste preference.
Easy Flavor Ideas
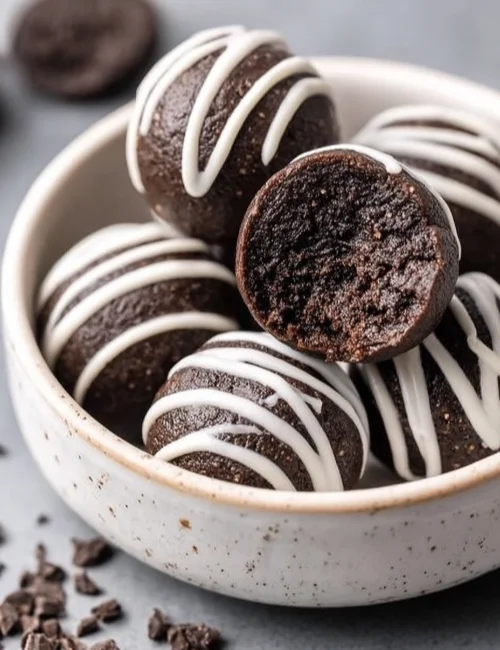
- Almond Joy Bars: Swap cherry filling for chocolate and coconut toppings.
- Peach Dream Bars: Use peach filling instead of cherry for a different fruity flavor.
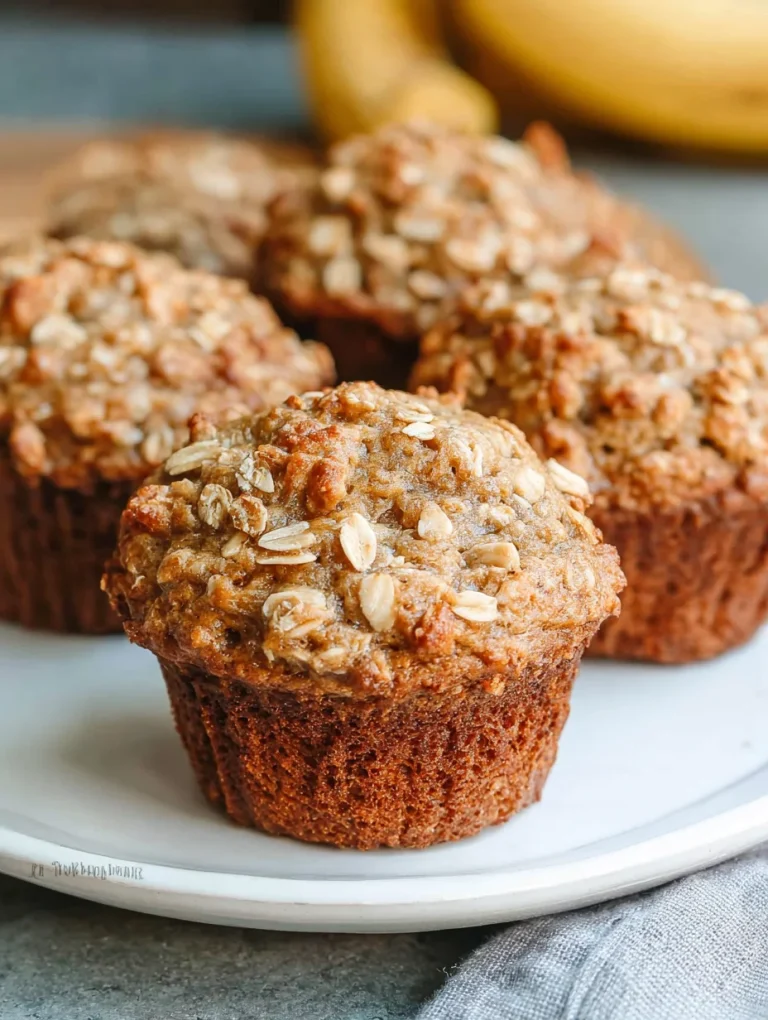
- Breakfast Twist: Add a sprinkle of oats on top for a breakfast-friendly version.
Common Questions
Can I make these cherry bars ahead of time?
Absolutely! You can prepare these a day in advance. Just store them in an airtight container at room temperature. They actually become a bit more flavorful as they sit, making them a great make-ahead treat.
Can I freeze the bars?
Yes, these bars freeze very well! After they cool completely, wrap them tightly in plastic wrap and then place them in a freezer-safe bag. They can be frozen for up to three months. Just thaw overnight in the fridge before serving.
What should I serve with these bars?
These bars pair nicely with vanilla ice cream or whipped cream for dessert. You can also enjoy them with a hot beverage, like tea or coffee. They also make an excellent snack with a glass of milk.
What if I don’t have cherry pie filling?
If you don’t have cherry pie filling, feel free to substitute with any fruit filling you like! Blueberry, strawberry, or even apple filling works wonderfully and adds a unique twist to the bars.
How can I avoid a dry texture?
To ensure moist bars, be careful not to overmix the batter and always check the baking time. Ovens may vary, so if your toothpick comes out clean but the bars look too brown on the edges, check them a little earlier next time.
Christmas Cherry Bars
Ingredients
Main Ingredients
- 1 cup butter (softened) Provides the rich, buttery base for the bars.
- 2 cups sugar Adds sweetness and helps create a tender texture.
- 4 eggs Adds richness and structure to the batter.
- 1 tsp vanilla extract Enhances the flavor of the bars with a warm, aromatic note.
- 3 cups all-purpose flour The main dry ingredient that forms the structure of the bars.
- 1 tsp salt Balances the sweetness and enhances the overall flavor.
- 1 can 21 ounces cherry pie filling Provides the sweet and tangy topping that makes these bars festive.
Instructions
Preparation
- Preheat your oven to 350°F (175°C). Lightly grease a 9×13 inch baking pan.
Make the Batter
- In a large mixing bowl, cream the softened butter and sugar until light and fluffy. Beat in the eggs one at a time, then blend in the vanilla extract.
Combine Dry Ingredients
- In another bowl, mix together the flour and salt. Gradually mix these dry ingredients into the creamed mixture until fully incorporated.
Assemble the Layers
- Spread 3 cups of the batter evenly into the bottom of the prepared pan. Gently spread the cherry pie filling over the layer of batter. Drop small clumps of the remaining batter over the cherry filling.
Baking
- Bake in the preheated oven for 35-40 minutes, or until the top is golden brown and a toothpick inserted into the center comes out clean.
Cooling
- Allow the bars to cool completely on a wire rack before adding the glaze.
Adding the Glaze (Optional)
- Whisk together the powdered sugar, milk, and vanilla extract until smooth. Drizzle the glaze over the cooled bars.
Finish and Serve
- Cut the dessert into bars after the glaze has set. Serve and enjoy.