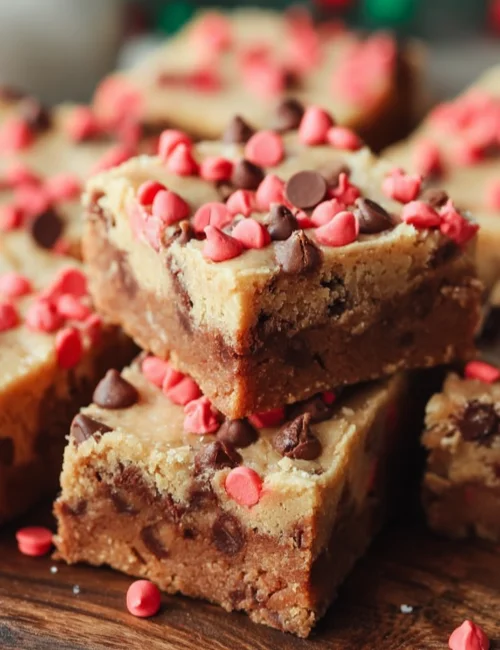
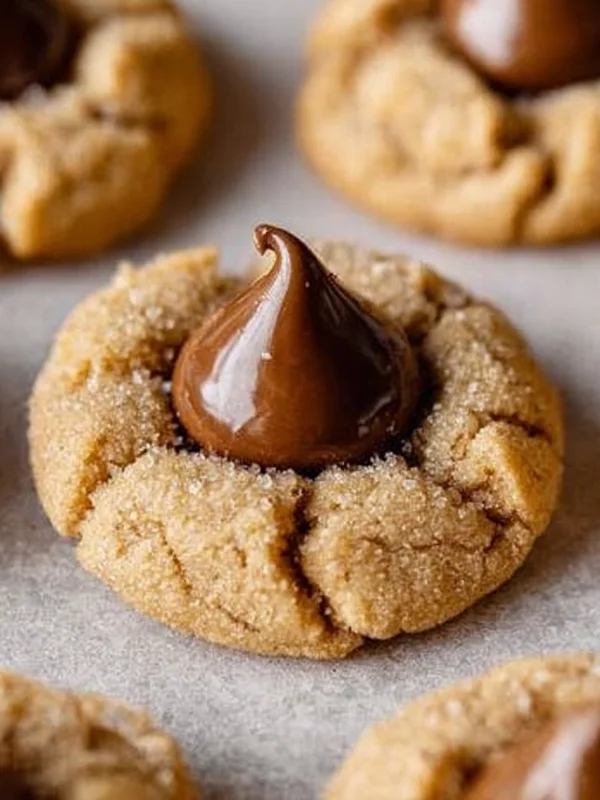
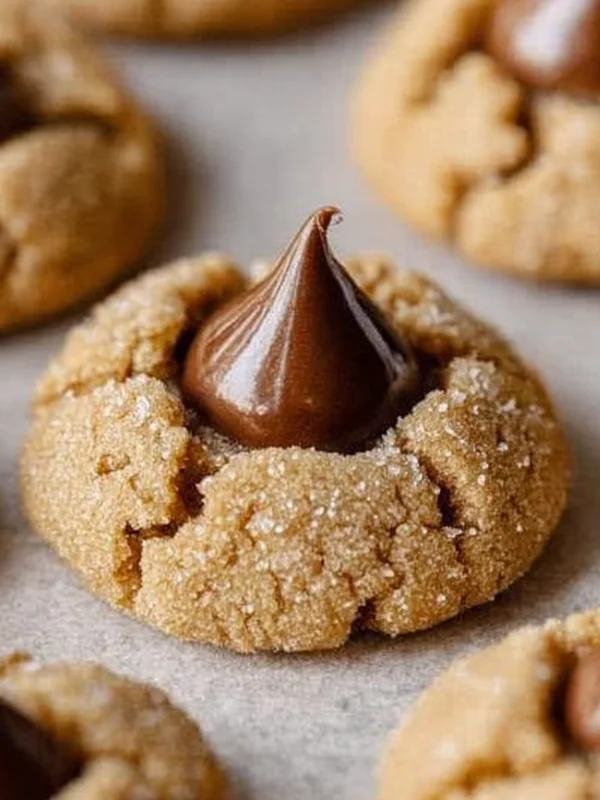
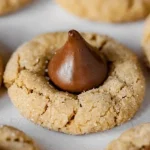
Classic Peanut Butter Blossoms are simply delightful. These cookies combine rich peanut butter with sweet chocolate kisses, making for a cozy treat that everyone loves. They’re great for family gatherings or just a simple dessert after dinner. Plus, they’re easy to whip up, so you can enjoy them any day of the week.
Why You Will Love This Classic Peanut Butter Blossoms
These cookies are not just easy to make; they’re also incredibly tasty. The combination of creamy peanut butter and chocolate creates a balanced flavor that is hard to resist. They come together quickly and use everyday ingredients you likely already have in your pantry. This recipe is perfect for families, as the kids can help shape the dough and add the chocolate kisses. Everyone will love how fun and delicious these treats are!
How to Make Classic Peanut Butter Blossoms
Making these cookies is straightforward. First, you’ll mix the wet ingredients, then combine them with the dry ones. After that, just chill the dough for a bit, shape it, and bake. The warm cookies will come out soft and ready to be topped with chocolate kisses. Follow the steps, and you’ll have a batch of delightful treats in no time!
What You Need
- 1 3/4 cup All-Purpose Flour
- 1 tsp Baking Soda
- 1/2 tsp Salt
- 1/2 cup Creamy Peanut Butter
- 1/2 cup Unsalted Butter (room temperature)
- 1/2 cup Granulated Sugar
- 1/2 cup Light Brown Sugar (lightly packed)
- 1 Large Egg
- 2 tbsp Milk
- 1 tsp Vanilla Extract
- 1/2 cup Granulated Sugar (additional amount for coating cookies)
- 11 oz Bag of Hershey Kisses
Step-by-Step
- In a medium bowl, whisk together the all-purpose flour, baking soda, and salt. Set aside.
- Using a hand mixer or stand mixer fitted with a paddle attachment, cream together the peanut butter, unsalted butter, granulated sugar, and light brown sugar on medium-high speed until well blended.
- Add in the egg, milk, and vanilla extract. Scrape down the sides of the bowl as needed.
- Reduce the mixer speed, gradually adding in the dry mixture until completely blended.
- Place the cookie dough in a well-sealed food container or tightly wrap the top of the mixing bowl with plastic wrap and chill the cookie dough for a minimum of 1 hour.
- After the dough has chilled, line 2 baking sheets with parchment paper or silicone mats, adjust the oven rack to the 2nd level mark (just above center), and preheat the oven to 375°F.
- Using a spoon and your clean hands, shape the cookie dough into 1-inch balls, roll in granulated sugar, and place about 1 1/2 – 2 inches apart on the lined baking sheets.
- Bake for 7-8 minutes, then remove from the oven and place a milk chocolate kiss on each cookie, pressing down gently to create the crackly cookie edges.
- Return to the oven and bake for 2 minutes longer.
- Cool cookies on the baking sheet for 5-10 minutes before transferring to a cooling rack to cool completely.
- Store cookies in an airtight container with a slice of bread for up to a week.
How to Serve Classic Peanut Butter Blossoms
These cookies shine on their own but can also be enjoyed with a glass of milk or a cup of tea. They make great snacks for school lunches or delightful treats for after-school munching. Pair them with vanilla ice cream for a delicious dessert, or serve them at birthday parties and family gatherings. Everyone will appreciate the sweet, comforting flavors!
How to Store Classic Peanut Butter Blossoms
To keep these cookies fresh, place them in an airtight container. They can stay at room temperature for up to a week. If you want to extend their life, you can freeze them. Just wrap each cookie in plastic wrap and place them in a freezer-safe container. When you’re ready to enjoy them, let them thaw at room temperature or gently heat them in the microwave.
Recipe Tips
- Chill the dough well for best results; this helps the cookies hold their shape.
- Use room temperature butter for easier blending.
- Don’t overbake the cookies; they should be soft in the center.
- Let the cookies cool slightly on the baking sheet before transferring them to racks.
- Add a sprinkle of sea salt on top of the cookies for an extra flavor boost.
Variations & Swaps
- Nut-Free Version: You can substitute almond butter or sunflower seed butter if you need a nut-free alternative.
- Chocolate Variations: Try using dark chocolate or white chocolate kisses if you prefer a different flavor.
- Additions: Mix in some chopped nuts or chocolate chips for extra texture and flavor.
FAQs
Can I make the dough ahead of time?
Yes! You can prepare the dough a day in advance and chill it in the refrigerator. Just be sure to bring it to room temperature before rolling and baking.
Can I freeze these cookies?
Absolutely! You can either freeze the baked cookies or the cookie dough. Wrap them tightly in plastic wrap and store in a freezer-safe bag.
How do I reheat them?
To reheat, simply microwave the cookies for about 10-15 seconds until they’re warm but not hot. This will make them soft and delicious again.
What can I use instead of granulated sugar?
You can try coconut sugar or a sugar alternative like erythritol for a lower-calorie option. Just know the texture may vary slightly.
What’s the best way to avoid flat cookies?
Make sure your butter is not too soft when creaming with the sugars. Also, chilling the dough is essential to help the cookies retain their shape while baking.
Classic Peanut Butter Blossoms
Ingredients
Dry Ingredients
- 1 3/4 cup All-Purpose Flour
- 1 tsp Baking Soda
- 1/2 tsp Salt
Wet Ingredients
- 1/2 cup Creamy Peanut Butter
- 1/2 cup Unsalted Butter (room temperature) Use room temperature for easier blending.
- 1/2 cup Granulated Sugar
- 1/2 cup Light Brown Sugar (lightly packed)
- 1 Large Egg
- 2 tbsp Milk
- 1 tsp Vanilla Extract
Coating and Topping
- 1/2 cup Granulated Sugar (additional for coating cookies)
- 11 oz Bag of Hershey Kisses
Instructions
Preparation
- In a medium bowl, whisk together the all-purpose flour, baking soda, and salt. Set aside.
- Using a hand mixer or stand mixer fitted with a paddle attachment, cream together the peanut butter, unsalted butter, granulated sugar, and light brown sugar on medium-high speed until well blended.
- Add in the egg, milk, and vanilla extract. Scrape down the sides of the bowl as needed.
- Reduce the mixer speed, gradually adding in the dry mixture until completely blended.
- Place the cookie dough in a well-sealed food container or tightly wrap the top of the mixing bowl with plastic wrap and chill the cookie dough for a minimum of 1 hour.
Baking
- After the dough has chilled, line 2 baking sheets with parchment paper or silicone mats, adjust the oven rack to the 2nd level mark (just above center), and preheat the oven to 375°F.
- Using a spoon and your clean hands, shape the cookie dough into 1-inch balls, roll in granulated sugar, and place about 1 1/2 – 2 inches apart on the lined baking sheets.
- Bake for 7-8 minutes, then remove from the oven and place a milk chocolate kiss on each cookie, pressing down gently to create the crackly cookie edges.
- Return to the oven and bake for 2 minutes longer.
- Cool cookies on the baking sheet for 5-10 minutes before transferring to a cooling rack to cool completely.