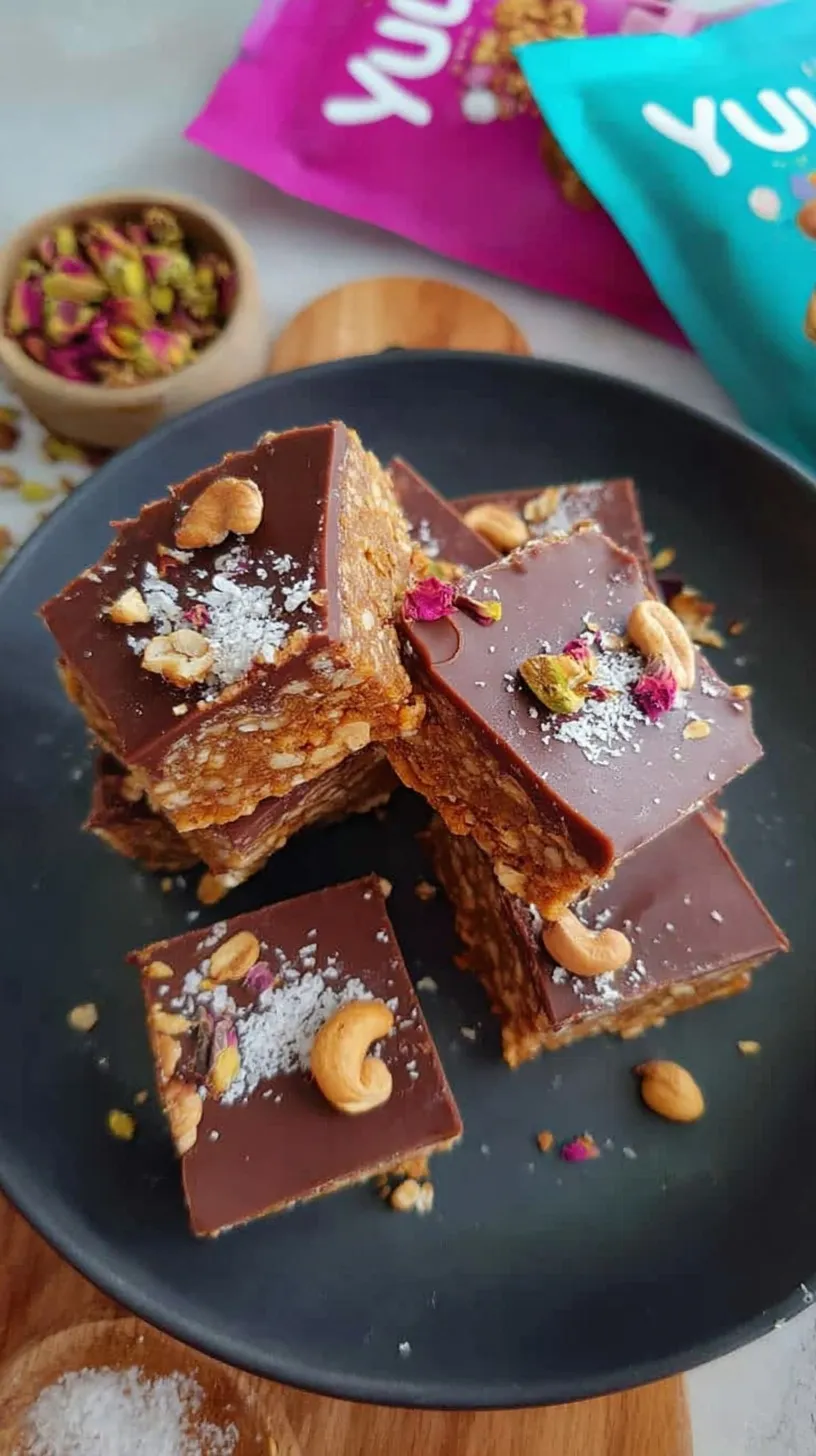
It is 7am on a busy fall Tuesday. You need a snack that actually keeps you full. These Dairy-Free Protein Granola Squares are the answer to your morning rush.
They are chewy, golden, and packed with plant-based goodness. Your whole family will love grabbing these on the way out the door. Best of all, they stay fresh all week long.
Why You’ll Love This Recipe
Finding a healthy snack that tastes like a treat is hard. These squares are perfect for busy fall weeknights when you need a win. They are much cheaper than store-bought protein bars too.
The combination of oats and almond butter creates a satisfying texture. You get a boost of energy without a sugar crash. It is a budget-friendly snack that feels fancy and homemade.
Simple Method
Making these is as easy as stir, press, and bake. You do not need any fancy kitchen equipment today. Just two bowls and a sturdy spatula will do the trick.
Even if you are a beginner, you can master these. The one-pan cleanup makes this a stress-free baking project. You will feel like a pro when you slice them into perfect squares.
Ingredients You’ll Need
Most of these items are pantry staples you likely already have. Fresh almonds add a lovely crunch to every single bite.
- 2 cups old-fashioned rolled oats
- 1/2 cup vanilla pea protein powder
- 1/2 cup raw almonds, roughly chopped
- 1/4 cup chia seeds
- 1/2 teaspoon fine sea salt
- 1/2 cup creamy almond butter
- 1/3 cup pure maple syrup
- 1/4 cup virgin coconut oil, melted
- 1 teaspoon pure vanilla extract
- 1/3 cup dairy-free dark chocolate chips
Step-by-Step
- Preheat oven to 350°F (175°C) and line an 8×8-inch square baking pan with parchment paper.
- In a large mixing bowl, whisk together the oats, protein powder, chopped almonds, chia seeds, and sea salt.
- In a separate bowl, combine the almond butter, maple syrup, melted coconut oil, and vanilla extract.
- Pour the liquid mixture over the dry ingredients and stir until fully coated.
- Fold in the dairy-free chocolate chips once the mixture has cooled slightly.
- Transfer the mixture to the pan and press down very firmly using a flat spatula.
- Bake for 22 to 25 minutes, or until the edges are golden brown.
- Remove from the oven and allow to cool completely in the pan for 1 hour.
- Lift the parchment paper to remove the slab and slice into 12 even squares.
Best Ways to Enjoy It
Serve these squares with a cold glass of almond milk. They are the perfect afternoon pick-me-up with a hot cup of coffee. Pack them into containers for easy weekday lunches for the kids.
If you have a slow weekend morning, enjoy one while reading. They are sturdy enough to take on a fall hike too. Share a batch with a neighbor to brighten their day.
Storage & Reheating
Store your squares in an airtight container at room temperature. They will stay fresh and chewy for up to five days. For longer storage, keep them in the fridge for two weeks.
You can also freeze these for later in a freezer-safe bag. Simply thaw one on the counter for 20 minutes before eating. They are a great make-ahead option for busy holiday weeks.
Recipe Tips
- Press the mixture down very hard so the bars do not crumble.
- Use a measuring cup to flatten the top evenly before baking.
- Don’t skip the cooling time or they will fall apart when cutting.
- Swap almonds for walnuts if you prefer a different nutty flavor.
- Add a handful of fresh dried cranberries for a seasonal fall twist.
- Use a sharp chef knife to get those clean, professional edges.
- Check your protein powder flavor as it defines the base taste.
Ways to Switch It Up
- Use sunflower seed butter to make these completely nut-free.
- Swap maple syrup for honey for a milder, floral sweetness.
- In summer, swap the chocolate chips for dried blueberries.
- Add a sprinkle of flaky sea salt on top for a gourmet finish.
Common Questions
Can I use whey protein instead?
Pea protein works best here because it absorbs moisture well. Whey can sometimes make the bars a bit too dry or rubbery. Stick to plant-based options for the best chewy texture.
How do I know when they are done?
Look for the edges to turn a beautiful golden brown color. The center should feel set but still slightly soft to the touch. They will firm up significantly as they cool on the counter.
I hope these protein squares make your busy fall mornings much easier. There is nothing better than a homemade snack that feels like a treat. Happy baking and enjoy every bite!
— Lidia
Dairy-Free Protein Granola Squares
Ingredients
- 2 cups old -fashioned rolled oats
- 1/2 cup vanilla pea protein powder
- 1/2 cup raw almonds, roughly chopped
- 1/4 cup chia seeds
- 1/2 teaspoon fine sea salt
- 1/2 cup creamy almond butter
- 1/3 cup pure maple syrup
- 1/4 cup virgin coconut oil, melted
- 1 teaspoon pure vanilla extract
- 1/3 cup dairy -free dark chocolate chips
Instructions
- Preheat oven to 350°F (175°C) and line an 8x8-inch square baking pan with parchment paper, leaving an overhang on two sides.
- In a large mixing bowl, whisk together the oats, protein powder, chopped almonds, chia seeds, and sea salt until evenly distributed.
- In a separate bowl, combine the almond butter, maple syrup, melted coconut oil, and vanilla extract, whisking until the emulsion is smooth.
- Pour the liquid mixture over the dry ingredients and stir with a stiff spatula until the oats are fully coated and no dry powder remains.
- Fold in the dairy-free chocolate chips once the mixture has cooled slightly to prevent immediate melting.
- Transfer the mixture to the prepared baking pan and press down very firmly using a flat spatula or the bottom of a measuring cup to ensure the squares hold together.
- Bake for 22 to 25 minutes, or until the edges are golden brown and the top feels set.
- Remove from the oven and allow to cool completely in the pan for at least 1 hour to ensure the structure sets.
- Lift the parchment paper to remove the slab and slice into 12 even squares using a sharp chef knife.