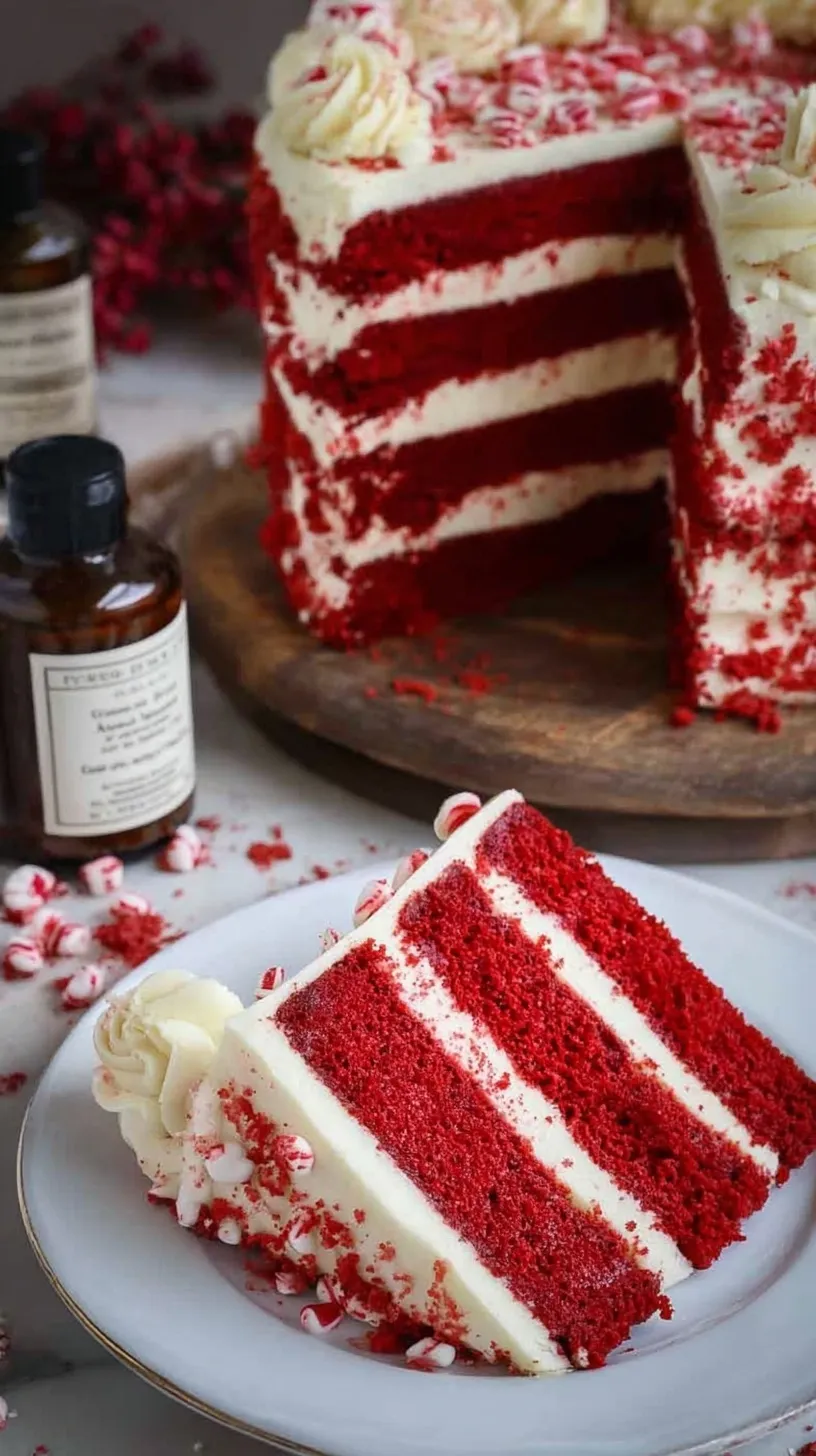
Looking for a dish that wows your guests without stressing you out? This Gluten-Free Red Velvet Cake is the perfect choice for your next party.
It is bright, beautiful, and so easy to make in your own kitchen. You will love how simple and fun this baking project feels for everyone. It delivers a striking look with very little effort or stress. This is the dessert your family will ask for every single year.
Why This Gluten-Free Red Velvet Cake Is a Winner
This cake is a total crowd-pleaser for any winter holiday or gathering. It is moist and tender every single time you bake it for friends. You do not have to worry about dry or crumbly gluten-free sponge here. It has a texture that everyone will enjoy.
The striking red color makes it feel very special for all your guests. It is a budget-friendly treat that tastes like a high-end bakery find. Your friends will be so impressed by the professional look and taste. It makes every celebration feel a bit more magical and bright.
This recipe is also great for busy families who need a reliable dessert. It uses simple pantry staples that you likely have in your cupboard now. It is a fail-proof way to make a special occasion feel even better. You can trust this recipe to work for your big event.
Simple Method
You do not need fancy skills to make this beautiful layer cake. Just whisk your dry and wet ingredients in two separate bowls first. The batter comes together fast with a simple hand or stand mixer. It is a very relaxing process for any home cook.
Even if you are new to gluten-free baking, you can do this. The results are consistent and very rewarding for all beginner home cooks. Just follow the steps and watch the magic happen in your oven. You will feel like a pro baker in no time.
Shortcuts like using a 1:1 flour blend save you so much time. You do not need to mix five different flours to get this right. It is a straightforward process from start to finish for any cook. This makes baking feel doable and very satisfying for you.
Ingredients You’ll Need
This recipe uses simple items to create a very deep and rich flavor. Most of these are likely already sitting in your kitchen or pantry right now.
- 2 1/2 cups gluten-free 1:1 all-purpose flour blend (containing xanthan gum)
- 1 1/2 cups granulated sugar
- 1 teaspoon baking soda
- 1 teaspoon fine sea salt
- 1 teaspoon unsweetened cocoa powder
- 1 cup vegetable oil
- 1 cup buttermilk, room temperature
- 2 large eggs, room temperature
- 2 tablespoons red food coloring
- 1 teaspoon distilled white vinegar
- 1 teaspoon vanilla extract
- 16 ounces cream cheese, softened
- 1/2 cup unsalted butter, softened
- 4 cups powdered sugar, sifted
- 1 teaspoon vanilla extract
Step-by-Step
- Preheat the oven to 350°F (175°C) and grease two 9-inch round cake pans, lining the bottoms with parchment paper.
- In a large bowl, whisk together the gluten-free flour, sugar, baking soda, salt, and cocoa powder until well combined.
- In a separate medium bowl, combine the vegetable oil, buttermilk, eggs, red food coloring, vinegar, and 1 teaspoon vanilla extract, whisking until homogeneous.
- Slowly add the wet ingredients to the dry ingredients, mixing on medium speed with a stand mixer or hand mixer for 2 minutes until the batter is smooth.
- Divide the batter evenly between the prepared pans and tap them firmly on the counter to release trapped air bubbles.
- Bake for 30 to 35 minutes or until a toothpick inserted into the center of the cakes comes out clean.
- Cool the cakes in their pans for 10 minutes, then invert onto wire racks to cool completely before beginning the frosting process.
- To prepare the frosting, beat the softened cream cheese and butter together in a clean bowl until smooth and creamy.
- Gradually add the powdered sugar and remaining vanilla extract, beating on medium-high speed until the frosting is light and fluffy.
- Place the first cake layer on a serving plate, spread with a thick layer of frosting, top with the second layer, and cover the top and sides with the remaining frosting.
Best Ways to Enjoy It
Serve a big, chilled slice with a cold glass of fresh milk. It is a soul-warming treat for a cozy winter night at home. You can also add fresh raspberries on top for extra color. This adds a lovely fresh taste to the rich cake.
Pair it with a hot cup of coffee after a holiday dinner. It is a show-stopping dessert that looks amazing on any dessert table. Set the table and enjoy this with your favorite people tonight. It is the perfect way to end a meal.
Keep It Fresh
Store your cake in the fridge to keep the frosting firm. It stays tasty for four days in an airtight cake container. This helps the flavors meld together and taste even better later. Cold cake is often even more delicious than warm cake.
You can also freeze the cake layers before you add the frosting. Just wrap them tightly in plastic wrap to keep them very fresh. Defrost them overnight in the fridge before you plan to decorate them. This makes holiday prep so much easier for you.
Recipe Tips
- Use room temperature eggs to ensure the batter mixes very smoothly.
- Do not skip the parchment paper to prevent the cake from sticking.
- Sift your powdered sugar to keep the frosting light and fluffy.
- Measure your flour by spooning it into the cup for accuracy.
- Add a little extra cocoa if you want a deeper chocolate flavor.
- Make sure the cakes are totally cool before you start frosting them.
- Use a serrated knife to get clean slices when you serve it.
- For holiday parties, double the recipe to make a taller cake.
Ways to Switch It Up
- Use dairy-free butter and cream cheese for a vegan-friendly option.
- Make red velvet cupcakes by cutting the bake time to 20 minutes.
- Swap the red color for green for a fun St. Patrick’s Day.
- Add chocolate chips to the batter for an extra sweet crunch.
- Use a maple-flavored frosting for a cozy fall twist on this.
Common Questions
Can I make this cake ahead of time?
Yes, you can bake the layers one day before you need them. Store them at room temperature wrapped tightly in plastic wrap until ready. This is great for stress-free entertaining during the holidays.
What gluten-free flour works best?
Always use a 1:1 baking blend that already contains xanthan gum. This ensures the cake has the perfect structure and height without extra steps. It makes the texture feel just like a traditional cake.
Why is my cake not bright red?
The brand of food coloring can change the final shade of red. Use a high-quality gel or liquid color for the most vibrant results possible. You can add a little more until you love the shade.
I hope this cake brings a little extra joy to your next celebration. It is so rewarding to share something homemade and gluten-free with those you love. Happy baking!
— Lidia
Gluten-Free Red Velvet Cake
Ingredients
- 2 1/2 cups gluten -free 1:1 all-purpose flour blend (containing xanthan gum)
- 1 1/2 cups granulated sugar
- 1 teaspoon baking soda
- 1 teaspoon fine sea salt
- 1 teaspoon unsweetened cocoa powder
- 1 cup vegetable oil
- 1 cup buttermilk , room temperature
- 2 large eggs , room temperature
- 2 tablespoons red food coloring
- 1 teaspoon distilled white vinegar
- 1 teaspoon vanilla extract
- 16 ounces cream cheese, softened
- 1/2 cup unsalted butter, softened
- 4 cups powdered sugar, sifted
- 1 teaspoon vanilla extract
Instructions
- Preheat the oven to 350°F (175°C) and grease two 9-inch round cake pans, lining the bottoms with parchment paper.
- In a large bowl, whisk together the gluten-free flour, sugar, baking soda, salt, and cocoa powder until well combined.
- In a separate medium bowl, combine the vegetable oil, buttermilk, eggs, red food coloring, vinegar, and 1 teaspoon vanilla extract, whisking until homogeneous.
- Slowly add the wet ingredients to the dry ingredients, mixing on medium speed with a stand mixer or hand mixer for 2 minutes until the batter is smooth.
- Divide the batter evenly between the prepared pans and tap them firmly on the counter to release trapped air bubbles.
- Bake for 30 to 35 minutes or until a toothpick inserted into the center of the cakes comes out clean.
- Cool the cakes in their pans for 10 minutes, then invert onto wire racks to cool completely before beginning the frosting process.
- To prepare the frosting, beat the softened cream cheese and butter together in a clean bowl until smooth and creamy.
- Gradually add the powdered sugar and remaining vanilla extract, beating on medium-high speed until the frosting is light and fluffy.
- Place the first cake layer on a serving plate, spread with a thick layer of frosting, top with the second layer, and cover the top and sides with the remaining frosting.