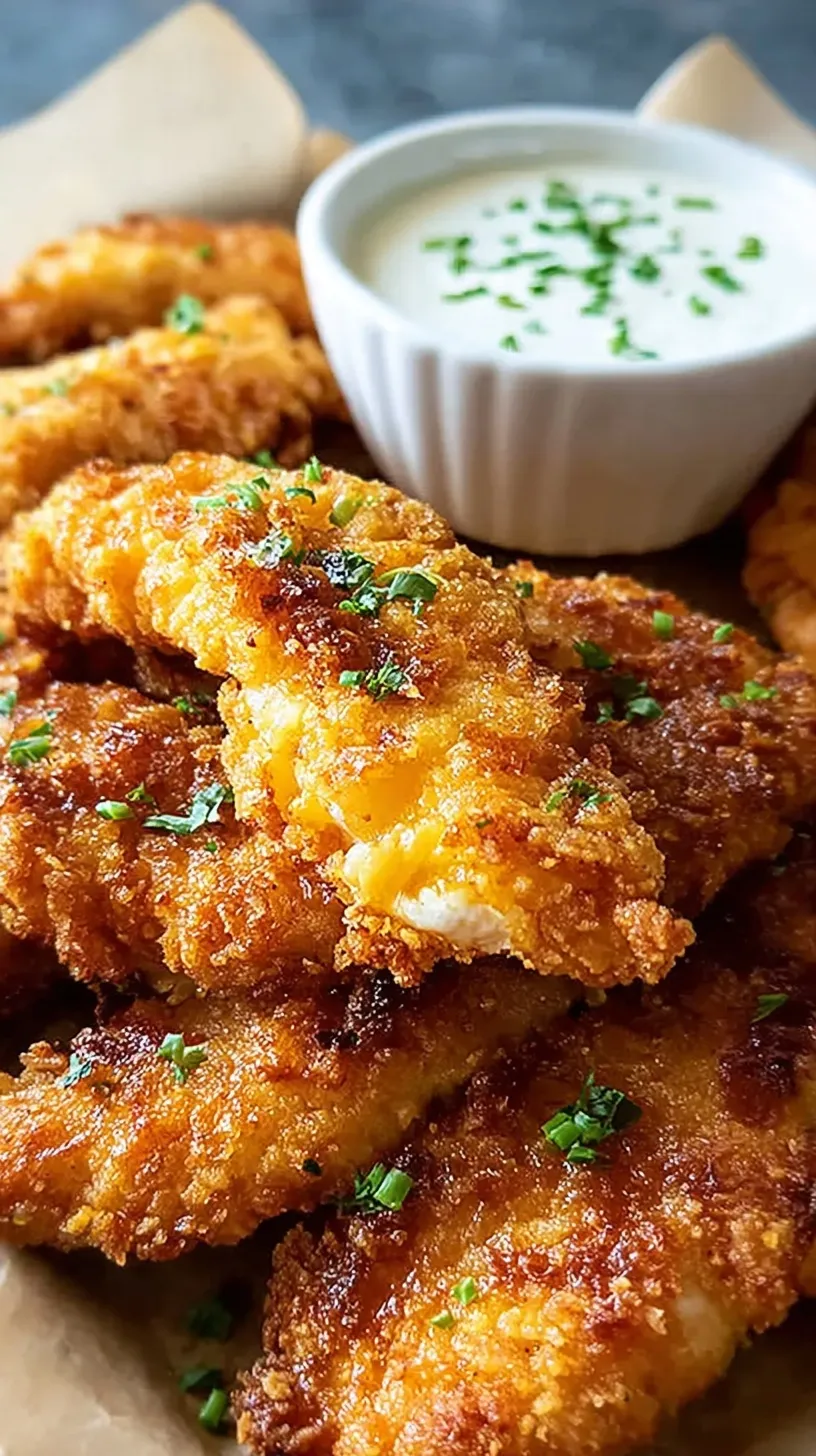
Back-to-school season is finally here. You need a kid-approved dinner that is fast. These homemade chicken tenders are exactly what you need right now.
They are much better than the frozen bag. Your family will love the crunch. Dinner will be on the table in no time.
Why You’ll Love These Homemade Chicken Tenders
These tenders are perfect for busy fall weeknights. They use simple pantry staples you already have. You get a crunchy outside and juicy inside every time.
Making them at home is very budget-friendly. You can control the salt and spices easily. It is a meal you can feel good about serving.
Simple Cooking Steps
We use a simple dredging station to keep things organized. Even if you are a beginner, you can do this. The process is very straightforward and fast.
Frying them in batches ensures they stay crispy. You do not need any fancy equipment. A heavy skillet works perfectly for this recipe.
Ingredients You’ll Need
These ingredients are mostly pantry staples you likely have. Fresh chicken makes all the difference here.
- 1.5 lbs chicken breast tenderloins
- 1 cup all-purpose flour
- 2 large eggs
- 2 tablespoons whole milk
- 2 cups Panko breadcrumbs
- 1 teaspoon salt
- 1/2 teaspoon ground black pepper
- 1 teaspoon garlic powder
- 1 teaspoon smoked paprika
- 1 quart vegetable oil for frying
Step-by-Step Directions
- Pat chicken tenderloins dry with paper towels to ensure better breading adhesion.
- In a shallow bowl, whisk together the all-purpose flour, salt, black pepper, garlic powder, and smoked paprika.
- In a second shallow bowl, beat the eggs with the milk until well combined.
- Place the Panko breadcrumbs in a third shallow bowl.
- Dredge each chicken piece in the seasoned flour, shaking off any excess.
- Dip the floured chicken into the egg wash, ensuring the piece is completely submerged.
- Press the chicken into the Panko breadcrumbs, coating all sides thoroughly.
- Heat the vegetable oil in a heavy-bottomed skillet or Dutch oven to 350°F (175°C).
- Fry the chicken in batches for 3 to 4 minutes per side until the crust is golden brown and the internal temperature reaches 165°F (74°C).
- Transfer the cooked tenders to a wire rack set over a baking sheet to drain and maintain crispness.
Best Ways to Enjoy It
Serve these warm with your favorite dipping sauce. Honey mustard or ranch are always big hits. Add a side of fresh corn or a green salad.
For a cozy weeknight meal, serve them immediately while hot. Your kids will ask for seconds every time. It makes a wonderful, comforting family dinner.
Storage & Reheating
Store any leftovers in an airtight container. They stay fresh in the fridge for three days. You can also freeze them for later use.
To keep them crunchy, reheat in the oven at 350°F. An air fryer also works great for reheating. Avoid the microwave to prevent soggy breading.
Recipe Tips for Best Results
- Don’t skip drying the chicken with paper towels first.
- Avoid crowding the pan while frying the chicken pieces.
- Use a meat thermometer to check for 165°F internal temperature.
- Swap Panko for regular breadcrumbs if you prefer a finer texture.
- For a fall party, double the batch for a crowd.
- Use a wire rack for draining to keep the bottom crispy.
- Add a pinch of cayenne for a little extra heat.
Easy Flavor Ideas
- Swap smoked paprika for lemon pepper for a bright twist.
- Use gluten-free flour and breadcrumbs for a dietary-friendly version.
- Add grated parmesan to the Panko for a cheesy crust.
- In summer, serve with a side of cold watermelon.
Common Questions
Can I make these ahead of time?
Yes, you can bread them earlier in the day. Keep them on a tray in the fridge. Fry them right before you are ready to eat.
Will kids really eat these?
Most picky eaters love these homemade chicken tenders. They are familiar and fun to eat with fingers. You can even let them help with breading.
I hope these golden chicken tenders make your busy weeknights much easier. There is nothing like a warm, home-cooked meal to bring everyone together. Happy cooking!
— Lidia
Homemade Chicken Tenders
Ingredients
- 1.5 lbs chicken breast tenderloins
- 1 cup all -purpose flour
- 2 large egg s
- 2 tablespoons whole milk
- 2 cups Panko breadcrumbs
- 1 teaspoon sal t
- 1/2 teaspoon ground black pepper
- 1 teaspoon garlic powder
- 1 teaspoon smoked paprika
- 1 quart vegetable oil for frying
Instructions
- Pat chicken tenderloins dry with paper towels to ensure better breading adhesion.
- In a shallow bowl, whisk together the all-purpose flour, salt, black pepper, garlic powder, and smoked paprika.
- In a second shallow bowl, beat the eggs with the milk until well combined.
- Place the Panko breadcrumbs in a third shallow bowl.
- Dredge each chicken piece in the seasoned flour, shaking off any excess.
- Dip the floured chicken into the egg wash, ensuring the piece is completely submerged.
- Press the chicken into the Panko breadcrumbs, coating all sides thoroughly.
- Heat the vegetable oil in a heavy-bottomed skillet or Dutch oven to 350°F (175°C).
- Fry the chicken in batches for 3 to 4 minutes per side until the crust is golden brown and the internal temperature reaches 165°F (74°C).
- Transfer the cooked tenders to a wire rack set over a baking sheet to drain and maintain crispness.