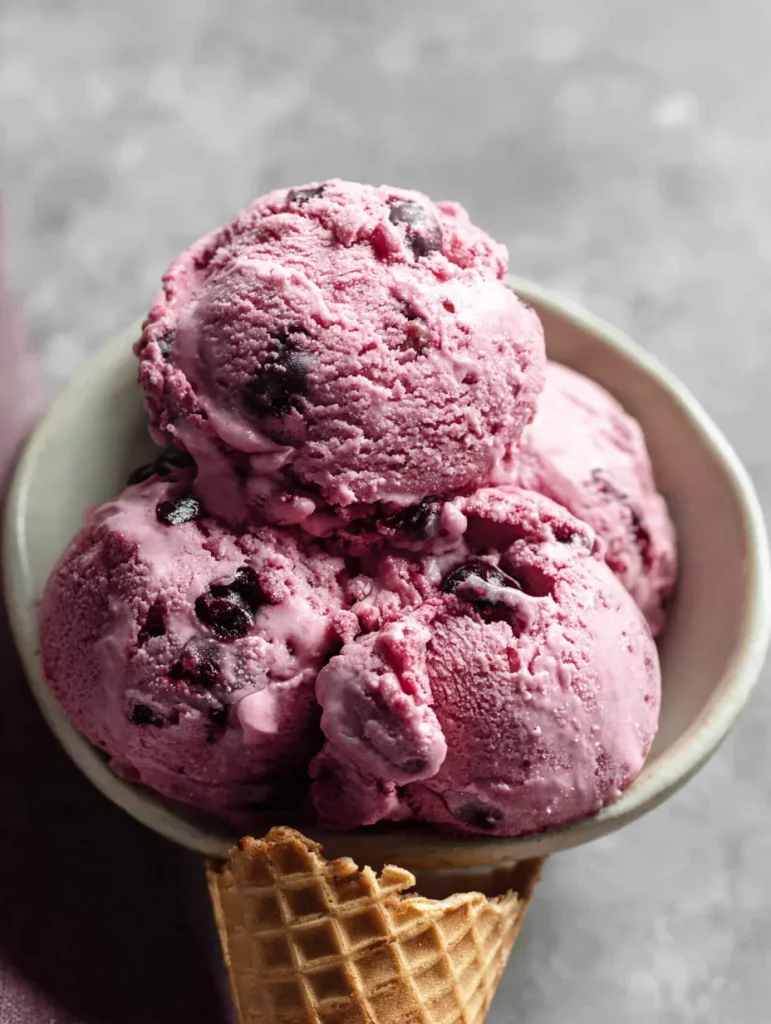
Let me paint you a picture: it’s a sweltering summer day, and you’re craving something cold and creamy. You could grab that boring vanilla from the freezer, or you could treat yourself to something that’ll make your taste buds sing opera – huckleberry ice cream. I’m talking about the kind of frozen dessert that makes you question why anyone bothers with chocolate chip when this purple paradise exists.
Trust me, once you’ve experienced the magic of real huckleberry ice cream, you’ll be spoiled forever. It’s like discovering a secret that the ice cream industry doesn’t want you to know about.

Why Huckleberry Ice Cream Is the Ultimate Summer Treat
Here’s what gets me fired up about huckleberry ice cream – it’s not just another fruity flavor trying to be special. This stuff has depth. While strawberry ice cream can taste like sugar with a pink crayon mixed in, huckleberry brings this incredible complexity that keeps you coming back for more.
The flavor hits you in waves: first that gorgeous tart punch that wakes up your palate, then the creamy sweetness that balances everything out perfectly. It’s like nature decided to create the perfect ice cream berry and then hid it in the mountains just to mess with us.
What Makes Huckleberries So Special for Ice Cream?
Wild huckleberries are basically the overachievers of the berry world:
- Intense flavor concentration that doesn’t get lost in cream
- Natural tartness that prevents the ice cream from being cloyingly sweet
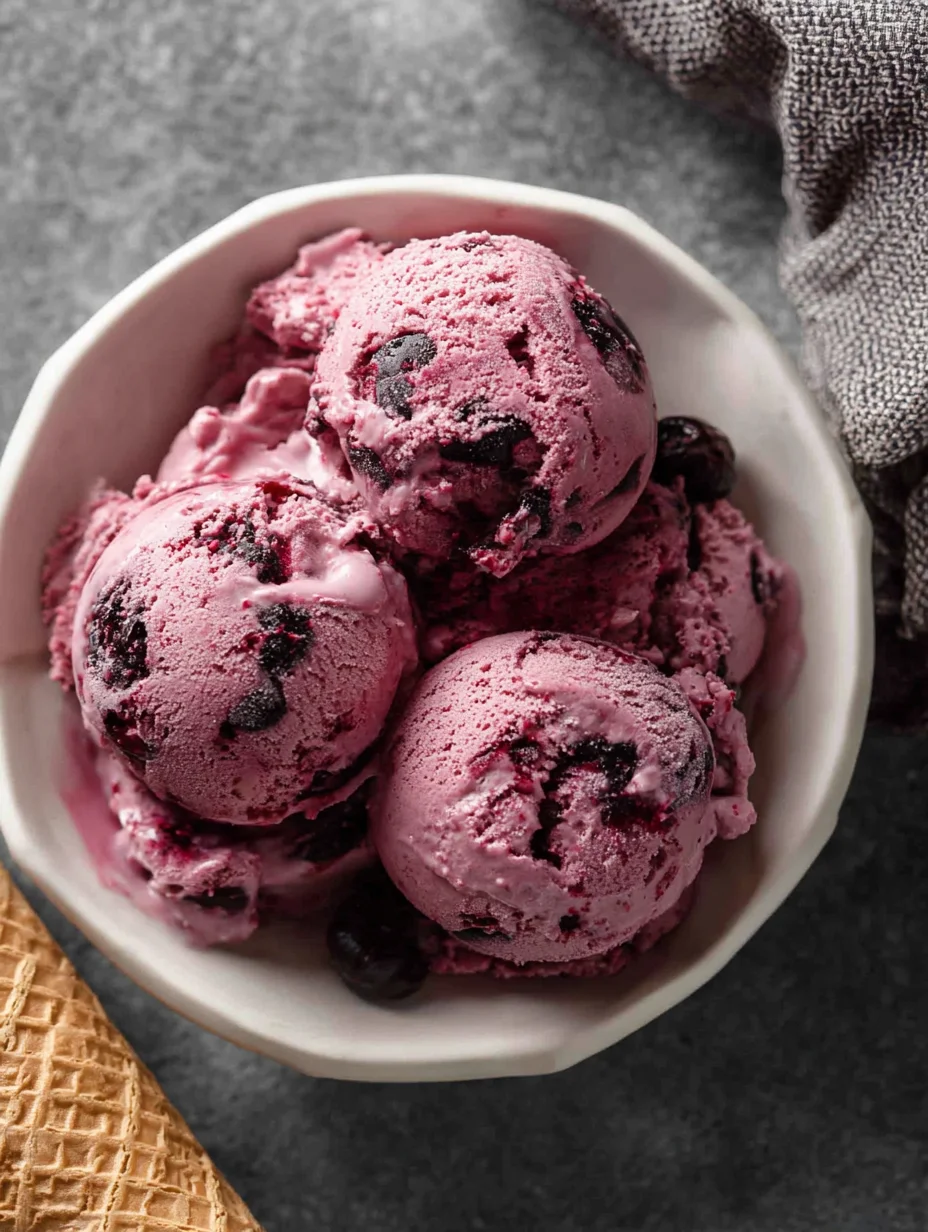
- Beautiful purple color that makes every scoop Instagram-worthy
- Firm texture that holds up during the churning process
Ever wonder why commercial ice cream makers don’t use huckleberries more often? Simple – you can’t mass-harvest these babies like you can with strawberries or blueberries. They’re wildcrafted treasures, which makes them even more special.
The Perfect Homemade Huckleberry Ice Cream Recipe
After years of experimenting (tough job, but someone had to do it), I’ve perfected a recipe that showcases these berries without overwhelming them with unnecessary complexity. This isn’t one of those recipes with fifteen ingredients – it’s all about letting the huckleberries shine.
What You’ll Need
For the ice cream base:
- 2 cups heavy cream
- 1 cup whole milk
- ¾ cup granulated sugar
- 6 large egg yolks
- 1 teaspoon vanilla extract
- 2 cups fresh or frozen huckleberries
- 2 tablespoons sugar (for the berries)
- 1 tablespoon lemon juice
Equipment you’ll actually use:
- Ice cream maker (obviously)
- Heavy-bottomed saucepan
- Fine-mesh strainer
- Large bowl for ice bath
The Method That Makes Magic Happen
Step 1: Prep the Berries Toss your huckleberries with 2 tablespoons of sugar and the lemon juice. Let them macerate for about 30 minutes – this draws out their juices and intensifies the flavor. The berries will release this gorgeous purple syrup that’s pure liquid gold.
Step 2: Create the Custard Base Heat the cream and milk in a saucepan until it’s just about to simmer (you’ll see little bubbles around the edges). Meanwhile, whisk those egg yolks with the remaining sugar until they’re pale and slightly thick.
Here’s where people usually mess up: temper those eggs! Slowly drizzle the hot cream mixture into the yolks while whisking constantly. Rush this step, and you’ll have sweet scrambled eggs instead of ice cream base :/
Step 3: Cook to Perfection Return everything to the saucepan and cook over medium-low heat, stirring constantly with a wooden spoon. You’re aiming for 170-175°F – the mixture should coat the back of your spoon. This takes patience, but it’s worth it.
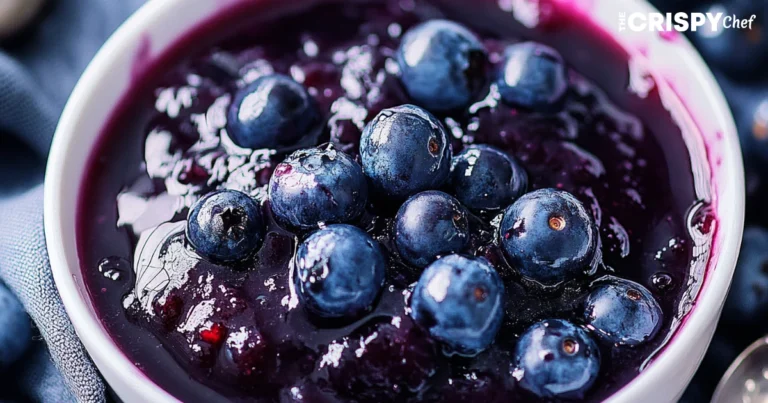
Step 4: Berry Integration Strain your custard into a bowl sitting in an ice bath. Add the vanilla and your macerated berries with all their juices. Some people strain out the berries, but IMO that’s crazy – those little purple gems add amazing texture and flavor bursts.
Step 5: Chill and Churn Refrigerate your base for at least 4 hours (overnight is even better). Then churn according to your ice cream maker’s instructions. The result? Creamy perfection with beautiful purple swirls and berry pieces throughout.
Store-Bought vs. Homemade: The Truth Nobody Tells You
Let’s be brutally honest here – most commercial huckleberry ice cream is a joke. I’ve tried versions from fancy brands that taste like they used artificial flavor and food coloring instead of real berries. The difference between homemade and store-bought is like comparing a live concert to listening through broken headphones.
What You’re Actually Getting
Real Homemade Huckleberry Ice Cream:
- Actual berries you can see and taste
- Complex flavor profile that changes as it melts
- Natural purple color from the fruit
- Customizable sweetness levels
Most Commercial Versions:
- Artificial huckleberry flavoring (whatever that means)
- Uniform color that screams “food dye”
- Often too sweet to taste the berry tartness
- Boring, one-note flavor
The only exception? Some small-batch local creameries that actually use real huckleberries. These places are gems, but they’re rare and usually expensive.
Pro Tips That’ll Level Up Your Ice Cream Game
After making more batches than I care to count, I’ve learned some tricks that separate good huckleberry ice cream from absolutely mind-blowing ice cream.
The Maceration Game-Changer
Don’t skip macerating those berries! This step is crucial for developing flavor. The sugar draws out the berry juices, creating a natural syrup that distributes evenly throughout your base. Some recipes tell you to cook the berries first, but I prefer them fresh – you get better texture and brighter flavor.
Temperature Control Is Everything
Your custard base needs to be completely cold before churning. I can’t stress this enough! Room temperature base won’t churn properly and might not freeze at all. Plan ahead and give it that overnight chill.
The Alcohol Secret
Here’s a pro tip that sounds weird but works: add a tablespoon of vodka to your base before churning. The alcohol prevents ice crystals from forming, giving you smoother, creamier ice cream. You won’t taste it, but you’ll definitely notice the improved texture.
Beyond Basic: Creative Huckleberry Ice Cream Variations
Once you’ve mastered the basic recipe, why not get a little wild? These variations will keep your freezer interesting and your friends impressed.
Huckleberry Cheesecake Ice Cream
Add 8 oz of softened cream cheese to your custard base and swirl in crushed graham crackers during the last few minutes of churning. It’s like summer and dessert had a beautiful purple baby.
Huckleberry Lavender Ice Cream
Steep a teaspoon of dried lavender in your warm cream mixture for 20 minutes, then strain it out. The floral notes complement the berries perfectly – it’s elegant and unexpected.
Huckleberry Lemon Verbena
Add fresh lemon verbena leaves to your cream base (strain them out later). The citrusy herb brings out the tartness in the berries and adds this amazing aromatic quality.
Where to Score the Best Huckleberries
Here’s the thing about huckleberries – they’re not hanging out at your local Walmart. These berries require a bit more effort to find, but that’s part of what makes them special.
Your Best Bets for Fresh Berries
Farmers Markets: Your goldmine for locally foraged huckleberries during peak season (July-September). Vendors often know exactly where they picked them and can give you tips for your own foraging adventures.
U-Pick Farms: Some mountain regions have farms that let you pick your own. It’s an experience, plus you get the satisfaction of earning your ice cream ingredients.
Wild Foraging: If you’re adventurous and know what you’re doing, mountain hiking trails often lead to huckleberry patches. Just remember to share with the local wildlife – they were there first!
Online Specialty Retailers: For frozen berries year-round, several Pacific Northwest companies ship nationwide. Yes, it’s pricier than blueberries, but you’re paying for quality and rarity.
The Science Behind Perfect Huckleberry Ice Cream
Want to know why some homemade ice cream turns into a brick in your freezer while others stay perfectly scoopable? It’s all about fat content, sugar ratios, and air incorporation.
Fat Content Sweet Spot
The combination of heavy cream and egg yolks creates the perfect fat content for creamy texture. Too little fat, and you get icy crystals. Too much, and it becomes dense and heavy.
Sugar’s Multiple Jobs
Sugar doesn’t just sweeten – it also prevents freezing solid. The sugar in both your custard base and the macerated berries works together to keep your ice cream scoopable straight from the freezer.
Air Is Your Friend
Proper churning incorporates air, creating that light, creamy texture we all crave. Under-churn, and you get dense ice cream. Over-churn, and you might end up with butter (yes, that actually happens).
Serving and Storage Secrets
You’ve made this incredible ice cream – now let’s make sure it stays incredible and gets served at its absolute best.
Storage That Preserves Perfection
Press plastic wrap directly onto the surface of your ice cream before putting the lid on. This prevents ice crystals from forming on top. Store it in the coldest part of your freezer (usually the back, away from the door).
Consume within two weeks for best flavor and texture. After that, it’s still safe but might develop freezer burn or lose some of that bright berry flavor.
Serving Like a Pro
Let your ice cream sit at room temperature for 5-10 minutes before scooping. This softens it just enough for easy serving without melting. Use a warm ice cream scoop (run it under hot water) for perfect round scoops.
Pairing Ideas That’ll Blow Your Mind
- Warm berry crisp – the temperature contrast is incredible
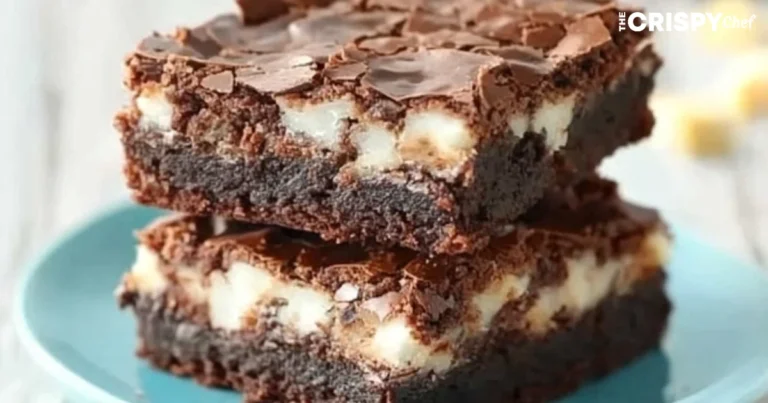
- Dark chocolate brownies – the tartness cuts through rich chocolate beautifully
- Lemon pound cake – citrus and berries are BFFs
- Fresh mint – adds a cooling, aromatic element
- Toasted nuts – walnuts or pecans add great texture contrast
Why Huckleberry Ice Cream Deserves a Spot in Your Freezer
Look, I get it – making homemade ice cream takes effort. You could easily grab a pint from the store and call it a day. But here’s what you’re missing when you take the easy route: the incredible satisfaction of creating something truly special, the amazing aroma that fills your kitchen, and most importantly, flavor that actually tastes like real fruit.
Huckleberry ice cream isn’t just a dessert – it’s a celebration of what happens when you use ingredients that nature perfected instead of what food scientists created in a lab. Every spoonful tells the story of mountain summers, careful foraging, and the kind of patience that good things require.
FYI, once your friends taste your homemade huckleberry ice cream, you’ll become the person everyone expects to bring dessert. It’s a delicious burden to bear, but someone’s got to do it 🙂
The next time you spot fresh huckleberries or find yourself craving something that’ll make ordinary ice cream seem boring, give this recipe a try. Your taste buds will thank you, your freezer will smell amazing, and you’ll finally understand why some of us get so excited about these little purple treasures. Trust me – it’s worth every creamy, tart, perfectly purple bite.
Homemade Huckleberry Ice Cream
Equipment
- Ice cream maker
- Heavy-bottomed Saucepan
- Whisk
- Wooden spoon
- Fine-mesh strainer
- Mixing bowls
- Large bowl for ice bath
Ingredients
- 2 cups heavy cream
- 1 cup whole milk
- 3/4 cup granulated sugar, divided
- 6 large egg yolks
- 1 tsp vanilla extract
- 2 cups fresh or frozen huckleberries
- 2 tbsp granulated sugar (for berries)
- 1 tbsp lemon juice
- 1 tbsp vodka (optional, for creaminess)
Instructions
- Toss huckleberries with 2 tbsp sugar and lemon juice. Let sit for 30 minutes to release juices.
- Heat cream and milk in a saucepan until just below simmering.
- Whisk egg yolks with remaining sugar until pale. Slowly drizzle in hot cream mixture while whisking constantly to temper the yolks.
- Return mixture to saucepan. Cook over medium-low heat, stirring constantly, until custard reaches 170–175°F and coats the back of a spoon.
- Strain custard through fine-mesh sieve into a bowl over an ice bath. Stir in vanilla, macerated berries, and optional vodka. Chill 4 hours or overnight.
- Churn according to ice cream maker instructions until thick and creamy. Transfer to container, press plastic wrap onto surface, and freeze until firm.