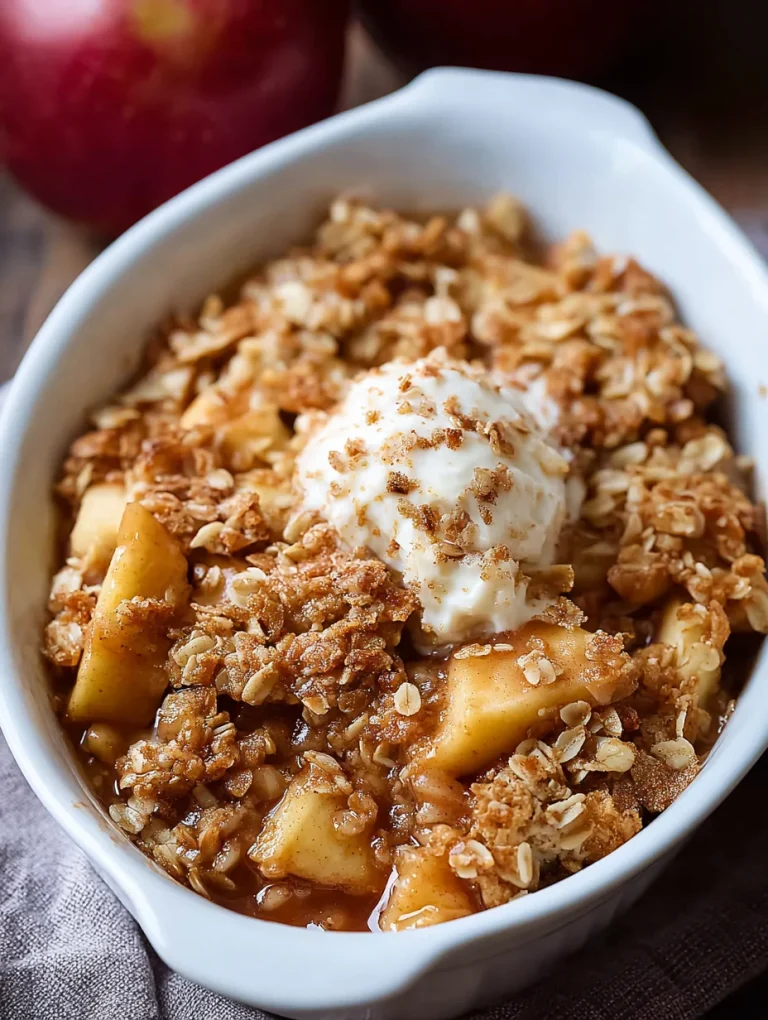
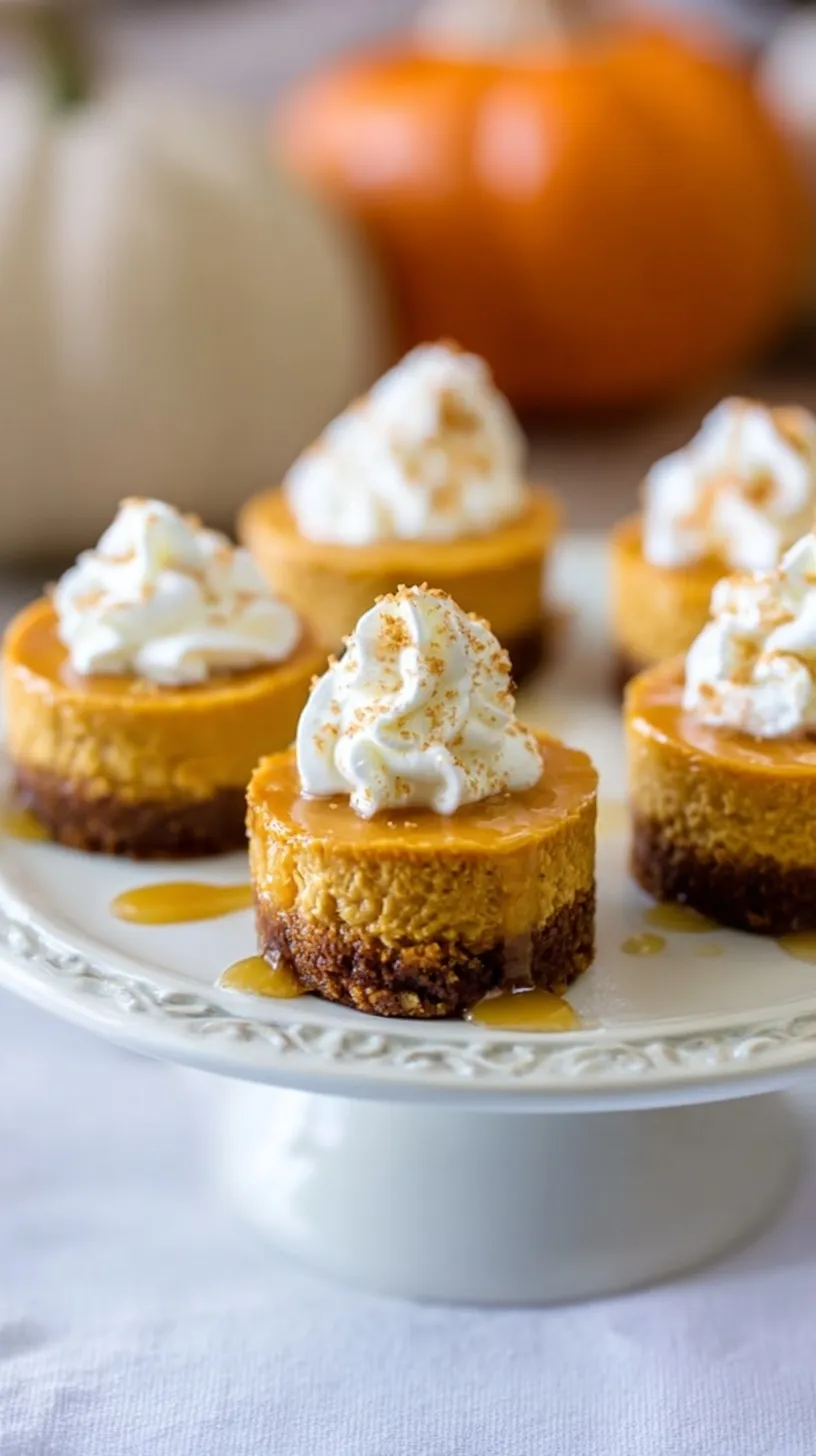
There is something magical about the smell of cinnamon on a crisp autumn evening. You deserve a treat that feels special but stays simple. These Mini Pumpkin Cheesecakes are the answer to your fall cravings.
They are creamy, spiced, and perfectly sized for sharing. Your family will love having their own individual dessert. Let us get baking and fill your home with warmth and joy.
Why This Recipe Is a Winner
These little treats are a total lifesaver during the busy holiday season. You do not need a fancy springform pan or a water bath. Using a muffin tin makes this recipe beginner friendly and very fast.
The gingersnap crust adds a spicy crunch that beats a standard graham cracker. It balances the silky pumpkin filling beautifully. This is the perfect portion-controlled dessert for your next big family gathering.
Simple Method
Making these cheesecakes is as easy as mixing and baking. You start with a quick two-ingredient crust that smells like heaven. Then you whip up a smooth, seasonal filling in one bowl. Even if you are new to baking, you can do this with great success.
What You Need
Most of these items are likely already in your pantry this time of year. Fresh spices and real pumpkin make all the difference.
- 1.5 cups gingersnap cookie crumbs
- 3 tablespoons unsalted butter, melted
- 12 ounces cream cheese, softened
- 0.5 cup granulated sugar
- 0.5 cup pumpkin puree
- 1 large egg
- 1 teaspoon vanilla extract
- 1 teaspoon pumpkin pie spice
Step-by-Step
- Preheat oven to 350°F (175°C) and line a standard 12-cup muffin tin with paper liners.
- In a small bowl, combine gingersnap crumbs and melted butter until moistened.
- Press 1 tablespoon of the mixture into the bottom of each liner and bake for 5 minutes. Remove and let cool.
- In a large bowl, beat the softened cream cheese and sugar until smooth and creamy.
- Add pumpkin puree, egg, vanilla extract, and pumpkin pie spice, mixing on low speed until just combined.
- Divide the cheesecake batter evenly among the 12 muffin cups.
- Bake for 18 to 22 minutes or until the edges are set and the centers slightly jiggle.
- Cool completely at room temperature, then refrigerate for at least 3 hours before serving.
Best Ways to Enjoy It
Serve these chilled with a big dollop of fresh whipped cream on top. A sprinkle of extra cinnamon or nutmeg adds a lovely touch. They look beautiful on a festive holiday platter next to some fresh berries.
Pair a cheesecake with a hot cup of coffee or spiced cider. This is the ultimate way to end a cozy autumn dinner. Your guests will be asking for the recipe before they finish their first bite.
Keep It Fresh
Store any leftovers in an airtight container in the refrigerator. They will stay fresh and delicious for up to 5 days. These are great for meal prepping your weekly treats in advance.
You can also freeze these cheesecakes for up to two months. Wrap them individually in plastic wrap and place in a freezer bag. Thaw them in the fridge overnight before you plan to serve them.
Tips for Best Results
- Use room temperature cream cheese to avoid any lumps in your batter.
- Do not overbeat the mixture once you add the egg to prevent cracking.
- Press the crust down firmly with the bottom of a small glass.
- Tap the muffin tin on the counter to release any trapped air bubbles.
- For Thanksgiving, double the batch because these disappear very quickly.
- Wait for them to cool completely before peeling off the paper liners.
Ways to Switch It Up
- Swap gingersnaps for graham crackers if you prefer a milder crust flavor.
- Add a handful of mini chocolate chips to the batter for a sweet twist.
- Use a gluten-free gingersnap cookie to make this dessert gluten-free friendly.
- Drizzle salted caramel sauce over the top for an extra indulgent treat.
Common Questions
Can I make these ahead of time?
Yes, these are actually better when made a day in advance. The flavors meld together and the texture sets perfectly in the fridge. This makes them ideal for holiday entertaining when you are busy.
How do I know when they are done?
The edges should look firm and slightly puffed up. The very center should still have a gentle jiggle when you shake the pan. They will firm up completely as they cool in the refrigerator.
Can I use pumpkin pie filling instead of puree?
It is best to stick with 100% pure pumpkin puree for this recipe. Pie filling has extra sugar and spices that might change the texture. You want to control the flavor with your own pumpkin pie spice.
I hope these cozy mini cheesecakes bring a little extra sweetness to your fall. They are so simple to make and even better to share with loved ones. Happy baking!
— Lidia
Mini Pumpkin Cheesecakes with Gingersnap Crust
Ingredients
- 1.5 cups gingersnap cookie crumbs
- 3 tablespoons unsalted butter, melted
- 12 ounces cream cheese, softened
- 0.5 cup granulated sugar
- 0.5 cup pumpkin puree
- 1 large eg g
- 1 teaspoon vanilla extract
- 1 teaspoon pumpkin pie spice
Instructions
- Preheat oven to 350°F (175°C) and line a standard 12-cup muffin tin with paper liners.
- In a small bowl, combine gingersnap crumbs and melted butter until moistened.
- Press 1 tablespoon of the mixture into the bottom of each liner and bake for 5 minutes. Remove and let cool.
- In a large bowl, beat the softened cream cheese and sugar until smooth and creamy.
- Add pumpkin puree, egg, vanilla extract, and pumpkin pie spice, mixing on low speed until just combined.
- Divide the cheesecake batter evenly among the 12 muffin cups.
- Bake for 18 to 22 minutes or until the edges are set and the centers slightly jiggle.
- Cool completely at room temperature, then refrigerate for at least 3 hours before serving.