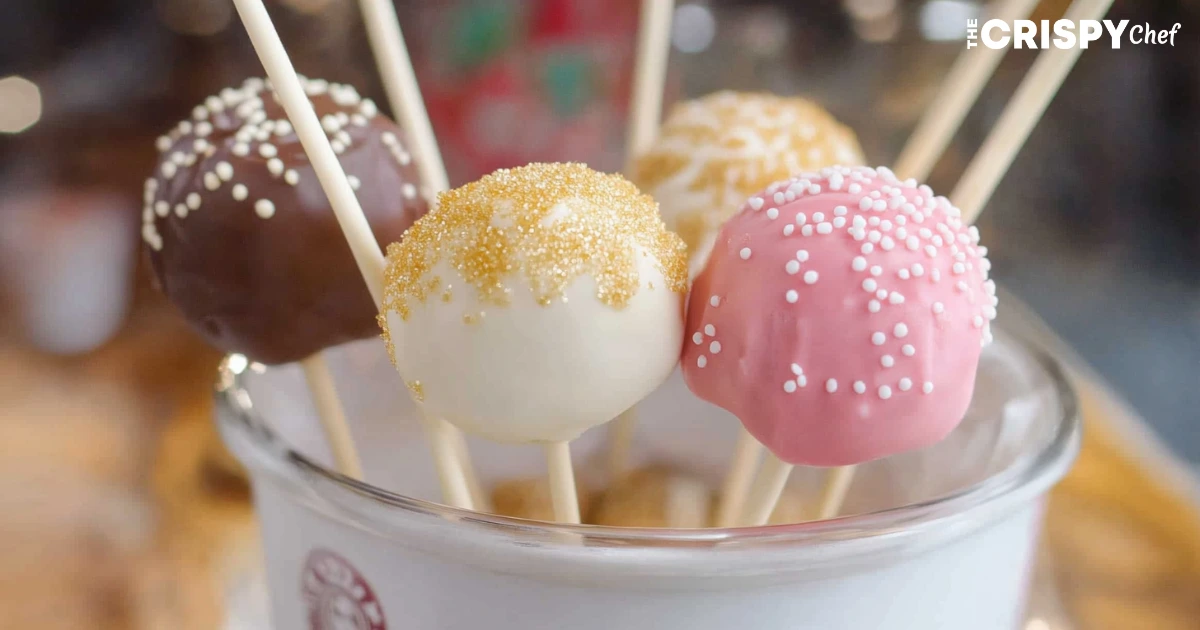
Enjoy the taste of Starbucks cake pops right in your kitchen. This simple recipe lets you make these treats at home. It saves money and satisfies your cravings. Learn to make delicious Starbucks-style cake pops that will wow your friends and family.
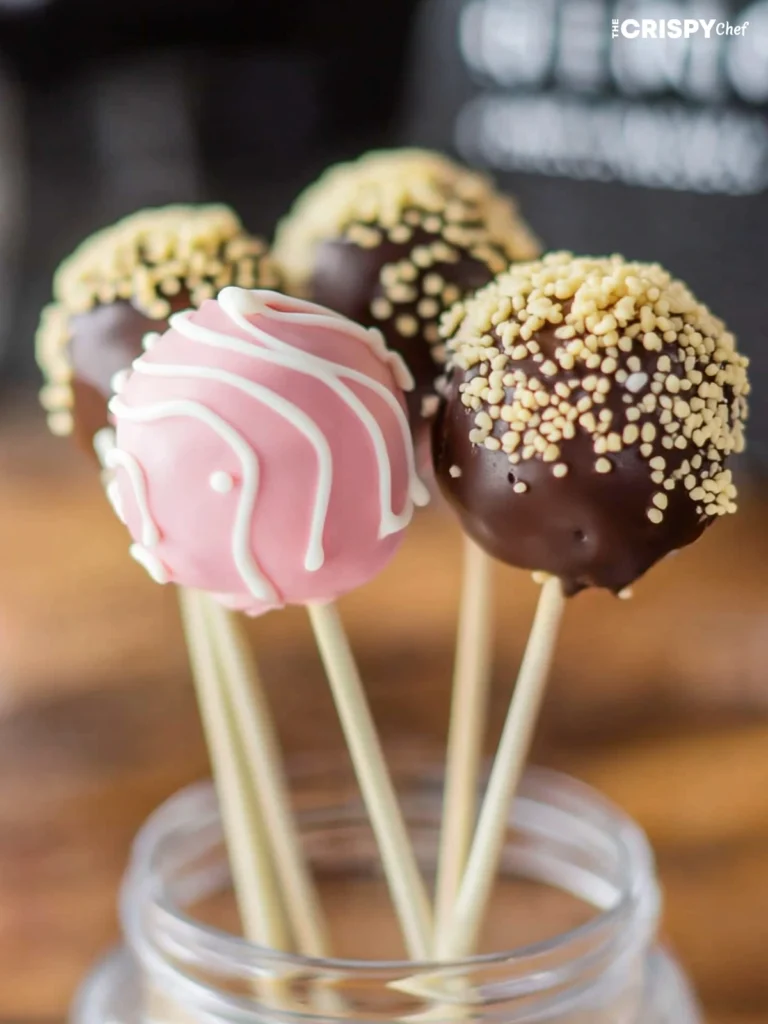
Key Takeaways
- Learn to make Starbucks-inspired cake pops at home with a simple recipe
- Save money by creating 24 cake pops for just $8, compared to $3.75 each at Starbucks
- Customize the cake pops with different colors and sprinkles to suit any occasion
- Enjoy the convenience of making the cake in advance and storing the pops for up to 2 months
- Achieve the perfect cake pop texture and shape with the right techniques
Overview of Starbucks-Style Cake Pops
Starbucks cake pops are a favorite among coffee fans and dessert lovers. They are small, easy to eat, and perfect for a quick sweet fix. Making them at home is cheaper and lets you customize them.
Why Make Them at Home
Homemade cake pops let you choose your flavors and designs. You can make everything from classic chocolate to unique flavors like Oreo or red velvet. It’s a fun activity for both new and experienced bakers.
Cost Comparison: Homemade vs. Store-bought
Making Starbucks copycat cake pops at home saves a lot of money. A single Starbucks pop costs over $3.75. But, you can make a similar pop at home for just $0.35. That’s a big difference in cost.
Time and Effort Required
Making homemade Starbucks cake pops takes about 1 hour and 20 minutes. This includes baking, cooling, and decorating. It’s a bit more work than buying them, but the homemade taste is worth it.
“Making Starbucks cake pops at home is a fun and rewarding activity that allows you to create a delicious treat tailored to your unique preferences.”
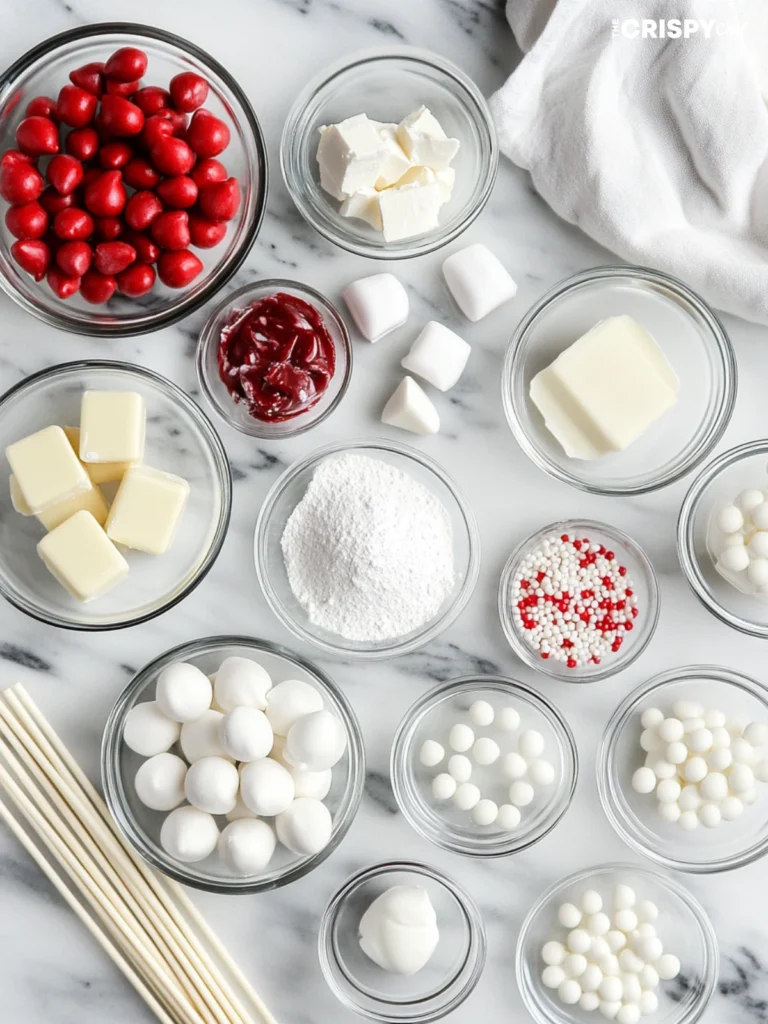
Essential Ingredients for Perfect Starbucks Cake Pops
To make delicious Starbucks-style cake pops at home, you need a few key ingredients. The recipe makes about 25 cake pops. It requires a single box of vanilla cake mix, half a stick of butter, 2 cups of powdered sugar, 1/4 cup of sour milk, and 1 tablespoon of vanilla extract. You’ll also need 1 1/2 cups of white chocolate, 1 tablespoon of red food coloring, and 3 tablespoons of white sprinkles, plus Starbucks cake pop sticks.
The vanilla cake mix is the base for a classic Starbucks flavor. But, you can try chocolate or red velvet for a unique twist. The powdered sugar and sour milk help hold the cake crumbs together. The vanilla extract adds a wonderful aroma and taste.
To get the signature Starbucks look, melt the white chocolate and add red food coloring for a light pink color. The white sprinkles add a fun touch and texture to your Starbucks cake pops.
With these ingredients, you’re ready to make professional-quality cake pops in your kitchen. Let’s explore the step-by-step guide to ensure your Starbucks cake pops are perfect every time.
“The key to making perfectly moist and flavorful Starbucks cake pops lies in the quality of the ingredients you use.”
Required Kitchen Tools and Equipment
Making Starbucks-style cake pops at home is easier with the right tools. You’ll need both essential basics and some optional gadgets. Let’s look at what you need to make the perfect Starbucks cake pop.
Basic Tools Needed
- Large mixing bowl
- Silicone spatula
- Cookie scoop or melon baller
- Baking sheets lined with parchment paper
- Microwave-safe bowl for melting chocolate
Optional but Helpful Equipment
While basic tools work, some extra equipment can make things easier. Here are a few items that can help:
- Stand mixer with paddle attachment for effortless cake crumbling and mixing
- Cake pop stand or Styrofoam block to hold the cake pops in place during the drying process
Alternatives for Specialized Tools
If you don’t have a stand mixer, a handheld electric mixer works too. And if you can’t find a cake pop stand, use a cardboard box with holes. It’s a creative way to support your cake pops as they dry.
Having the right cake pop tools, baking equipment, and kitchen essentials is key. Get the necessary items for a smooth and fun cake pop-making experience.
Starbucks Cake Pop Recipe: Step-by-Step Guide
Ready to make your own Starbucks-style cake pop tutorial at home? This guide will show you how to make the perfect Starbucks copycat recipe. You’ll learn how to mix the cake batter, bake it, and decorate the pops.
First, preheat your oven to 350°F. Prepare a 9×13-inch baking pan. Follow the chocolate cake mix instructions, adding eggs, oil, and water. Pour the batter into the pan and bake for about 30 minutes.
Let the cake cool completely. Then, crumble it into a large bowl. Mix in your favorite frosting until it’s well combined. Scoop out 1-1.5 tablespoons of the mixture and shape into balls.
- Place the cake balls on a parchment-lined baking sheet. Chill them in the freezer for 20-30 minutes.
- Melt 12 oz of chocolate candy melts in a double boiler or microwave. Stir until smooth. Dip lollipop sticks into the chocolate and insert them into the cake balls.
- Dip the cake balls into the melted chocolate, coating them evenly. Tap off excess and place them on a Styrofoam block or cake pop stand to set.
- Once the chocolate hardens, decorate the cake pops with sprinkles, drizzles, or other toppings.
With this cake pop tutorial, you can make a bakery-worthy Starbucks copycat at home. Enjoy your homemade Starbucks copycat recipe and impress your friends and family with your baking skills!
Making the Perfect Cake Base
Baking the cake is the first step to making delicious cake baking tips. To get a moist and tasty moist cake recipe, preheat your oven to 350°F. Or, just follow what the cake mix package says. Bake the cake until a toothpick in the center comes out clean, usually 30-35 minutes.
Once the cake is done, let it cool completely on a wire rack. This is before you move on to the next step.
Cooling and Crumbling Techniques
Proper cooling is key for the cake crumbling methods. After cooling, crumble the cake with your hands or a stand mixer. Make sure to remove the outer hardened layer first. This helps get a uniform texture in your cake pops.
Mix the crumbs with frosting until it’s smooth and dough-like. This is important for the right consistency.
| Cake Baking Tips | Moist Cake Recipe | Cake Crumbling Methods |
|---|---|---|
| Preheat oven to 350°F | Use a boxed cake mix as a base | Crumble the cake using hands or a stand mixer |
| Bake until a toothpick inserted in the center comes out clean | Add in 1/2 cup of ready-made frosting | Remove the outer hardened layer before crumbling |
| Allow the cake to cool completely on a wire rack | Mix the crumbs and frosting until a dough-like consistency is achieved | Mix the cake crumbs and frosting evenly for a smooth texture |
“The key to a moist and delicious cake base is proper baking and crumbling techniques. By following these steps, you’ll have the perfect foundation for your Starbucks-style cake pops.”
Mixing and Forming the Cake Balls
Now that you have your cake base, it’s time to make cake ball formation happen. Mix the crumbled cake with about 1 cup of your favorite frosting. Add more frosting until it’s just sticky enough.
To make uniform cake pops, use a cookie scoop or melon baller. This will help you get even-sized balls. Roll each ball between your palms to make them smooth and round. If they stick, just wash your hands and keep going.
- Chill the formed cake balls in the freezer for about 30 minutes. This helps them keep their shape.
- After chilling, roll each ball again to make them perfectly round.
- Freeze the cake balls for another 1 hour before coating them in chocolate or other toppings.
By following these steps, you’ll have a batch of uniform cake pops ready for the next step. That’s coating and decorating!
Coating and Decorating Tips
Make your homemade Starbucks-style cake pops look like they came from a bakery. Learn how to coat and decorate them like a pro. With the right candy melt techniques and finishing touches, your cake pops will be stunning.
Melting Chocolate Properly
It’s key to melt the candy coating right for a shiny finish. Heat it in a safe container in the microwave, stirring every 30 seconds until smooth. Don’t let it get too hot, or it will seize up.
Use a tall, narrow container to dip the cake balls. This lets excess coating drip off easily.
Adding Sprinkles and Decorations
- Add sprinkles or toppings right after dipping for a festive look. This way, they stick well.
- If the coating gets too thick, add a bit of coconut oil or shortening. This keeps it just right.
- Work in small batches. This stops the coating from hardening too fast, making even coating easier.
With candy melt techniques and creative decorations, your cake pops will be showstoppers. They’ll impress everyone you share them with.
Common Mistakes to Avoid
Baking cake pops at home can be very rewarding. But, it’s key to avoid common mistakes for success. Using the right amount of frosting and melting chocolate correctly are crucial tips.
One mistake to avoid is using too much frosting. Too much can make the cake pops greasy and hard to coat. Instead, use just enough frosting to hold the cake balls together.
Another issue is overheating the chocolate. If chocolate gets too hot, it can become thick and hard to coat. Make sure to melt it at 130 degrees Fahrenheit or less. Use a double boiler or the microwave in short bursts.
Chilling the cake balls is also important. This helps keep their shape. Make sure they are well-chilled before dipping in chocolate. Warm or room-temperature balls might fall off the sticks or lose their shape.
- Avoid using too much frosting when binding the cake crumbs
- Melt chocolate at a maximum of 130 degrees Fahrenheit to prevent seizing
- Chill the cake balls thoroughly before dipping to maintain their shape
By avoiding these common cake pop troubleshooting mistakes, you’ll make perfect cake pops. They’ll be smooth, glossy, and look great, just like Starbucks.
Storage and Shelf Life
Proper storage is key to enjoying your homemade Starbucks-style cake pops at their freshest. Here’s what you need to know about preserving their delectable taste and texture:
For short-term storage, keep finished cake pops in an airtight container at room temperature for up to 3 days. If you’d like to extend their shelf life, store them in the refrigerator for up to 7 days. When storing in the fridge, separate the cake pops with parchment paper to prevent moisture buildup and color bleeding.
Looking to enjoy your cake pops for even longer? Freeze them for up to 3 months. To freeze, place the cake pops in a single layer in an airtight container or vacuum-sealed bag. When ready to serve, thaw them overnight in the refrigerator before indulging.
Remember, the key to maintaining freshness is proper storage. Keep your cake pops in a cool, dry place, away from direct sunlight. With these simple cake pop storage and dessert preservation tips, you can savor the freshness of your homemade Starbucks treats for days or even weeks to come.
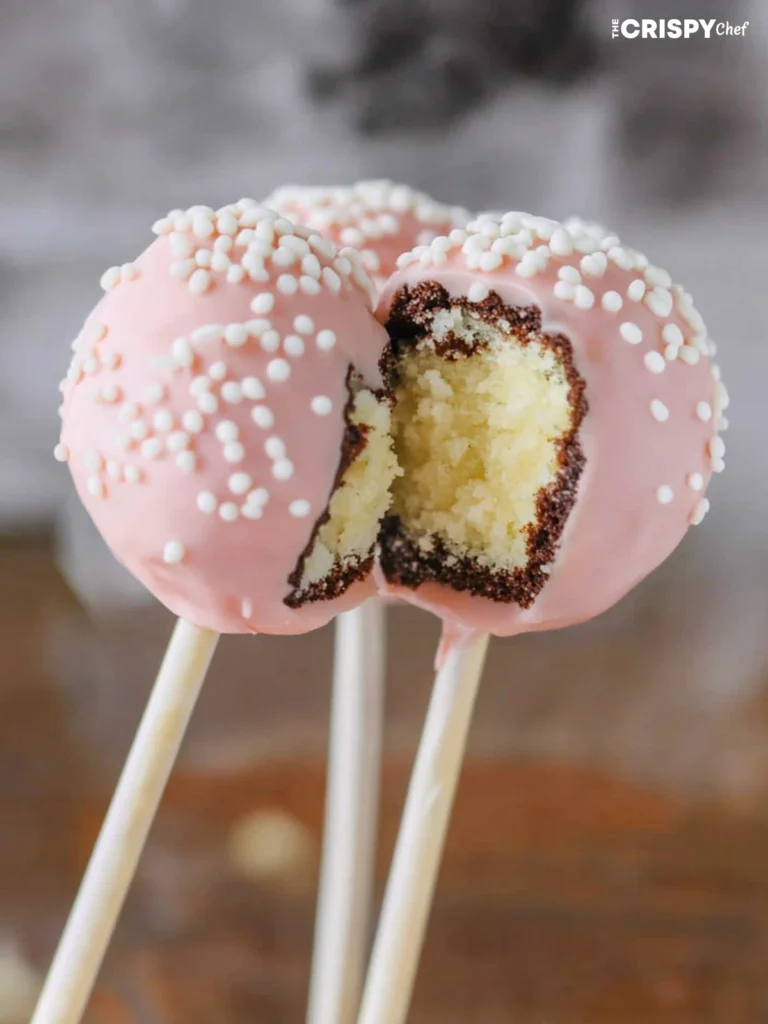
Creative Variations and Flavors
Make your homemade Starbucks-style cake pops even better by trying new flavors and designs. Use different cake bases like rich chocolate or vibrant red velvet. This adds depth and complexity to your treats.
Vary the coating colors and flavors for different themes and occasions. Try peppermint for winter, fruity notes for summer, or classic white chocolate for timeless elegance.
Show off your artistic side with custom decorations. Sprinkle colorful sprinkles, drizzle melted chocolate in patterns, or add edible glitter. The possibilities are endless for creating unique and stunning cake pop flavors, custom desserts, and themed cake pops.
- Experiment with different cake flavors like chocolate or red velvet
- Vary coating colors and flavors for different themes or occasions
- Try seasonal variations like peppermint for winter or fruity flavors for summer
- Customize decorations with various sprinkles, drizzles, or edible glitter for unique designs
Let your creativity shine and make one-of-a-kind cake pops. They will delight your senses and impress your guests. With a bit of experimentation and lots of fun, you can make your homemade cake pops even more delicious and visually appealing.
“The possibilities are endless when it comes to crafting unique and visually stunning cake pop flavors, custom desserts, and themed cake pops.”
Conclusion
Making homemade Starbucks cake pops at home is rewarding and saves money. You only need simple ingredients and a few techniques to make treats that look like they came from Starbucks. The joy of baking these treats yourself is unmatched, and you can make them your own by adding your favorite flavors and decorations.
With a step-by-step guide and some tips, you can make dessert recipe success happen. Your homemade Starbucks cake pops will impress anyone. They’re perfect for any occasion, bringing joy and smiles to all who try them.
So, why not become your own pastry chef and make these delicious Starbucks-inspired cake pops? The fun of baking, the money you save, and the happiness of sharing a homemade treat make it a great experience for anyone who loves to cook.
FAQ
How much do Starbucks cake pops cost?
Starbucks cake pops usually cost about .75 each.
What is the recipe for Starbucks birthday cake pops?
To make Starbucks-style birthday cake pops, you need vanilla cake mix, powdered sugar, vanilla extract, light pink candy melts, and white nonpareil sprinkles.
How many cake pops can you make at home for the cost of one from Starbucks?
At home, you can make about 24 cake pops for around . This works out to
FAQ
How much do Starbucks cake pops cost?
Starbucks cake pops usually cost about $3.75 each.
What is the recipe for Starbucks birthday cake pops?
To make Starbucks-style birthday cake pops, you need vanilla cake mix, powdered sugar, vanilla extract, light pink candy melts, and white nonpareil sprinkles.
How many cake pops can you make at home for the cost of one from Starbucks?
At home, you can make about 24 cake pops for around $8. This works out to $0.35 per pop, much cheaper than Starbucks’ $3.75 each.
What basic kitchen tools are needed to make cake pops at home?
You’ll need a large bowl, silicone spatula, cookie scoop, baking sheets, parchment paper, and a microwave-safe bowl. You might also use a stand mixer and a cake pop stand.
How long does it take to make homemade Starbucks-style cake pops?
Making homemade cake pops takes about 2-3 hours. This includes baking, mixing, forming, and decorating. You’ll also need time for cooling and setting.
What are some common mistakes to avoid when making cake pops?
Avoid using too much frosting, which can make them greasy. Also, don’t overheat the chocolate coating. And make sure to chill the cake balls before dipping.
How long can homemade cake pops be stored?
You can store homemade cake pops at room temperature for up to 3 days. In the fridge, they last up to 7 days. For longer storage, freeze them for 2-3 months.
Can I customize the flavors and decorations of homemade cake pops?
Yes, you can try different cake flavors like chocolate or red velvet. You can also change the coating colors and decorations for various themes or occasions.
.35 per pop, much cheaper than Starbucks’ .75 each.
What basic kitchen tools are needed to make cake pops at home?
You’ll need a large bowl, silicone spatula, cookie scoop, baking sheets, parchment paper, and a microwave-safe bowl. You might also use a stand mixer and a cake pop stand.
How long does it take to make homemade Starbucks-style cake pops?
Making homemade Starbucks cake pops takes about 2-3 hours. This includes baking, mixing, forming, and decorating. You’ll also need time for cooling and setting.
What are some common mistakes to avoid when making Starbucks cake pops?
Avoid using too much frosting, which can make them greasy. Also, don’t overheat the chocolate coating. And make sure to chill the cake balls before dipping.
How long can homemade Starbucks cake pops be stored?
You can store homemade Starbucks cake pops at room temperature for up to 3 days. In the fridge, they last up to 7 days. For longer storage, freeze them for 2-3 months.
Can I customize the flavors and decorations of homemade Starbucks cake pops?
Yes, you can try different cake flavors like chocolate or red velvet. You can also change the coating colors and decorations for various themes or occasions.
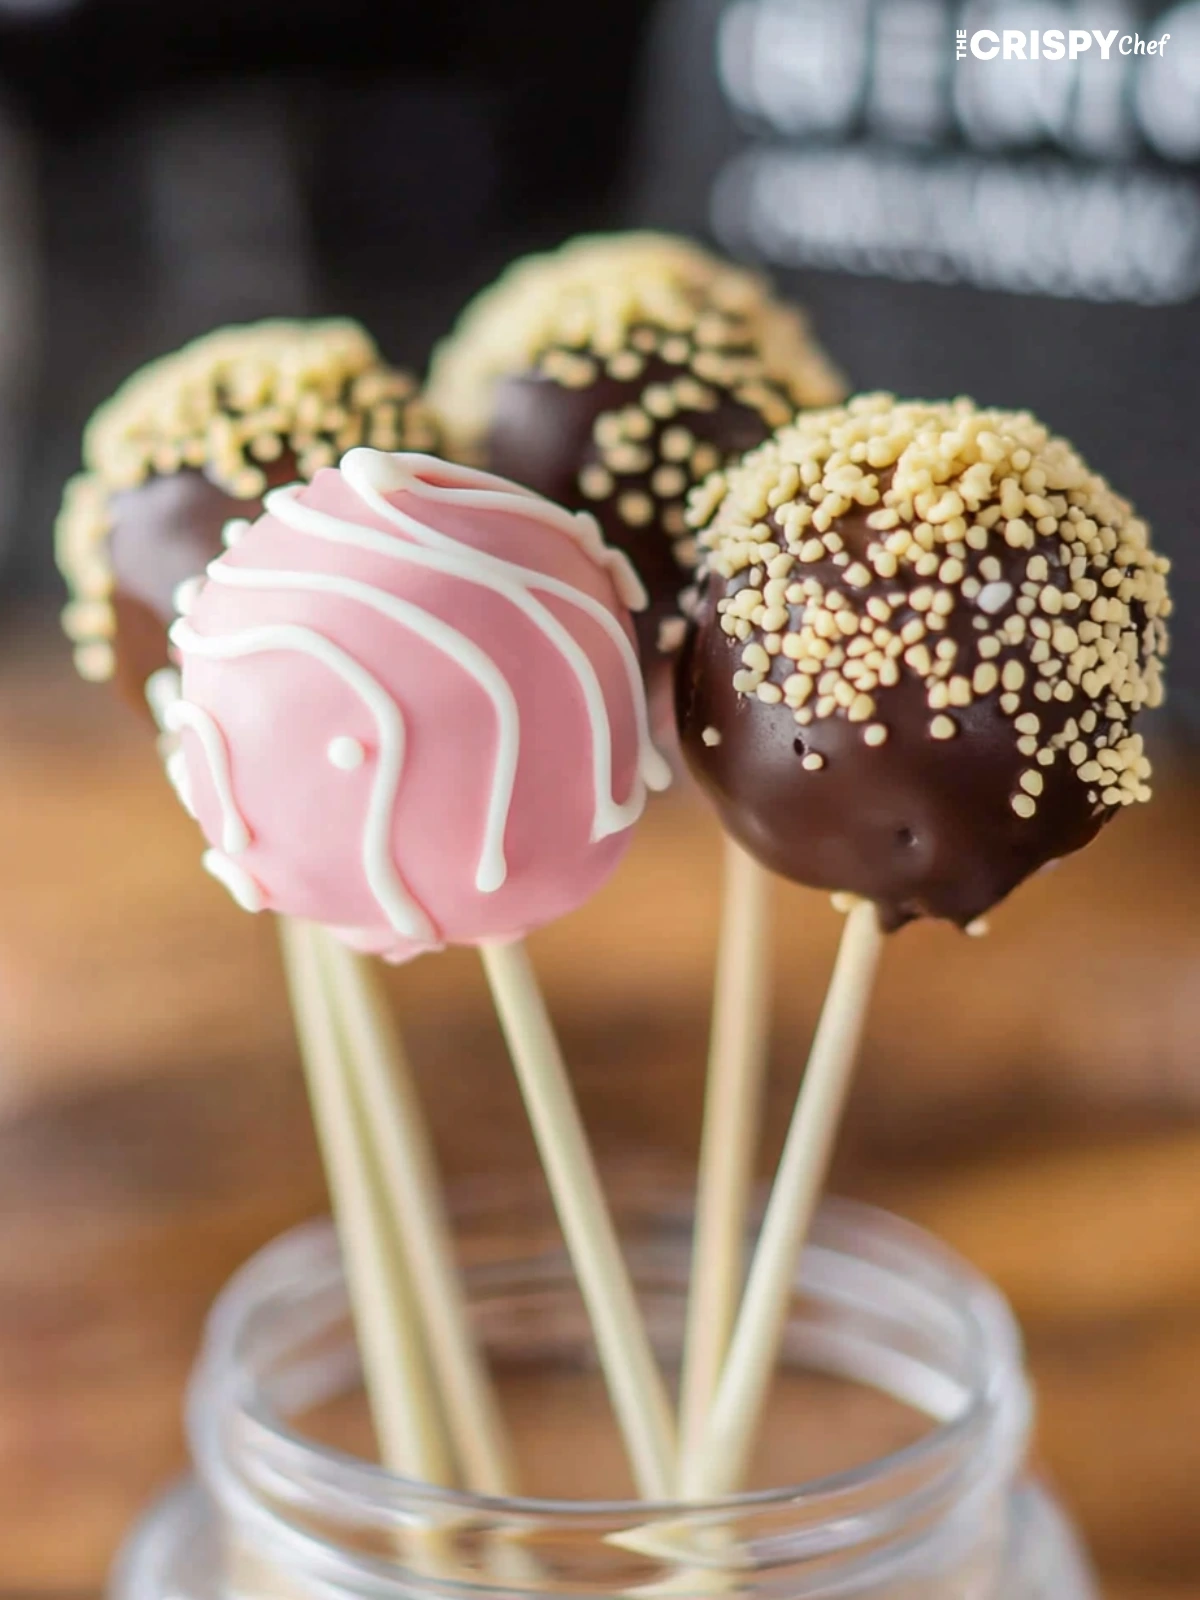
Starbucks Cake Pops
Equipment
- Large mixing bowl
- Silicone spatula
- Cookie scoop or melon baller
- Baking sheets lined with parchment paper
- Microwave-safe bowl
- Lollipop sticks
- Optional: Stand mixer, cake pop stand or Styrofoam block
Ingredients
- 1 box vanilla cake mix
- 1/2 stick of butter
- 2 cups powdered sugar
- 1/4 cup sour milk
- 1 tbsp vanilla extract
- 1 1/2 cups white chocolate
- 1 tbsp red food coloring
- 3 tbsp white sprinkles
- 24 lollipop sticks
Instructions
Bake the Cake:
- Preheat oven to 350°F. Prepare a 9×13-inch baking pan and bake the cake according to package instructions. Let it cool completely.
Crumble the Cake:
- Once cooled, crumble the cake into a large mixing bowl, removing any hardened edges. Mix in frosting until it reaches a dough-like consistency.
Form Cake Balls:
- Scoop 1–1.5 tablespoons of the mixture and shape into smooth balls. Place on a parchment-lined baking sheet and chill in the freezer for 30 minutes.
Prepare the Coating:
- Melt white chocolate in a microwave-safe bowl, stirring every 30 seconds. Add red food coloring for a pink hue.
Insert Sticks:
- Dip lollipop sticks in melted chocolate and insert them halfway into the chilled cake balls.
Coat and Decorate:
- Dip each cake pop into the melted chocolate, ensuring an even coating. Tap off excess and add sprinkles immediately.
- Set the Pops: Place the coated pops upright in a Styrofoam block or cake pop stand to harden.
Store:
- Keep in an airtight container at room temperature for up to 3 days or refrigerate for up to 7 days. Freeze for longer storage.
Source:
- Starbucks Birthday Cake Pop Recipe
- Starbucks Cake Pop Recipe
- Vanilla Cake Pops- Starbucks Copycat (VIDEO)
- How to Make Copycat Starbucks Cake Pops
- Starbucks Cake Pops Flavors With Prices|November 25, 2024
- The BEST Copycat Starbucks Cake Pops Recipe
- Cake Pop Recipe {Better than Starbucks} – The Big Man’s World ®
- Simple Cake Pops



2 Comments