
Looking for a sweet treat that’s easy to make? Try these Butterfinger balls. They turn your favorite candy bar into a homemade treat that will wow everyone.
Imagine making a delicious dessert with just four ingredients. These butterfinger balls bring the classic candy bar taste to your kitchen. They’re quick, easy, and super tasty!
Whether you’re new to baking or a pro, this recipe is a hit. The mix of crunchy and sweet layers will take you to dessert paradise with each bite.
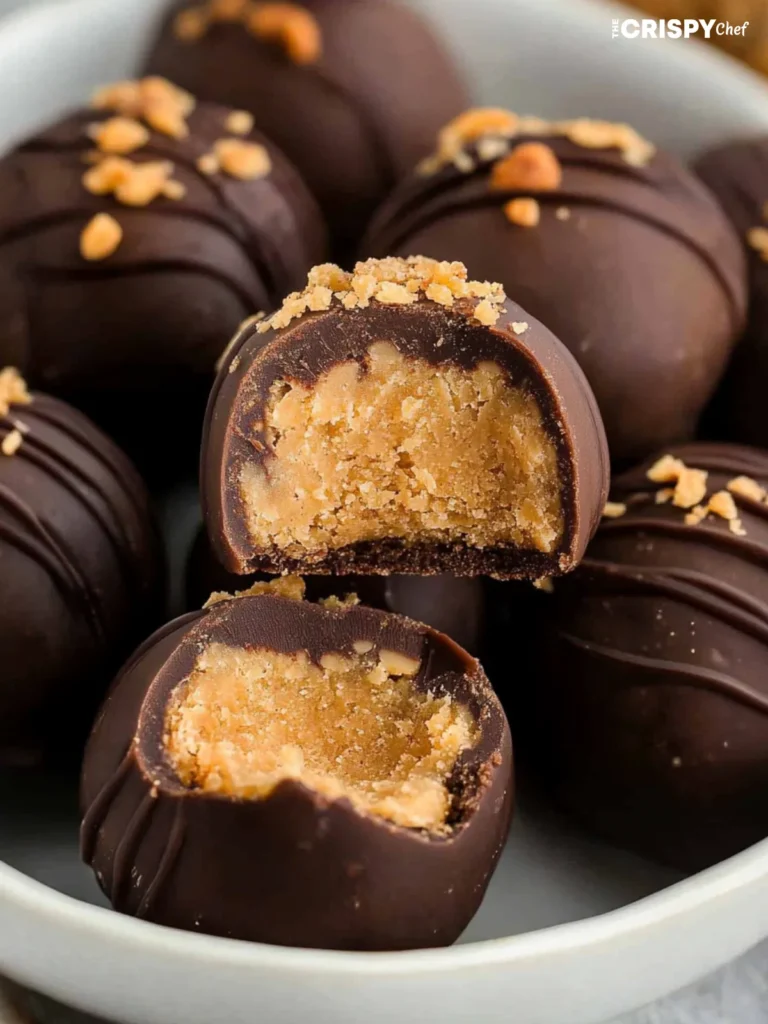
Table of Contents
Key Takeaways
- Only 4 ingredients needed for delicious Butterfinger balls
- No baking skills required
- Perfect for parties and gatherings
- Quick and easy preparation method
- Fun dessert that kids and adults will love
More Desserts ideas
Why These Butterfinger Balls Are Your Next Favorite Treat
Craving a delightful dessert that’s easy to make? The easy butterfinger balls recipe is perfect. These treats mix great texture, taste, and convenience for a new snacking experience.
Let’s explore why these butterfinger bites recipe will become your go-to sweet indulgence:
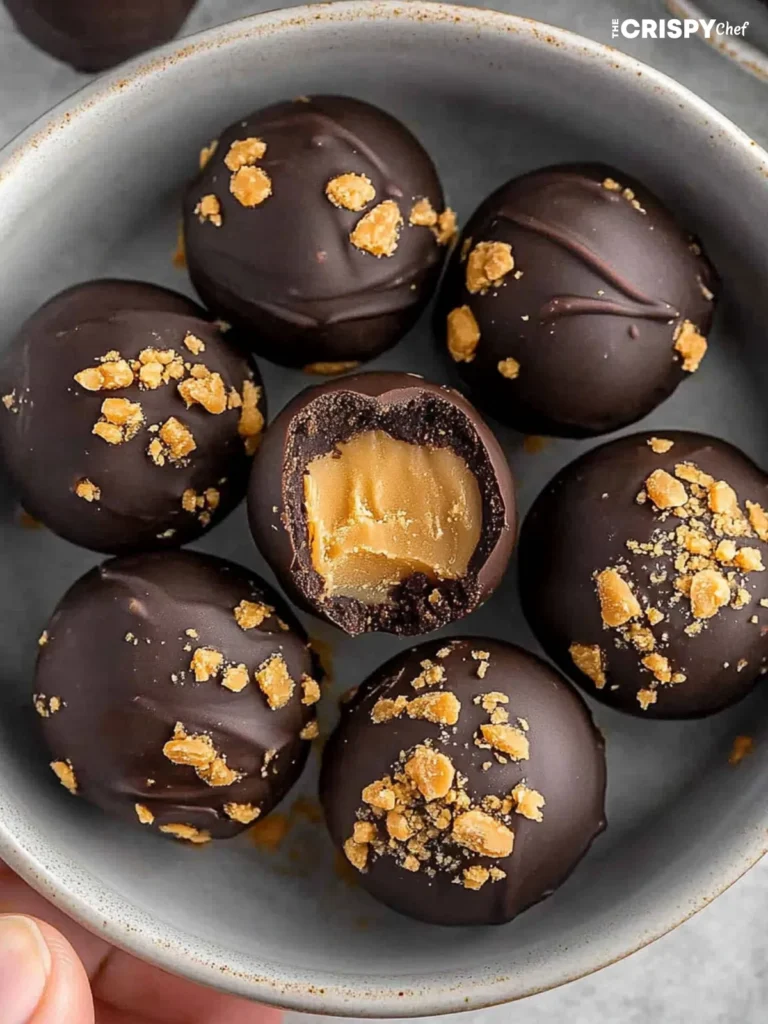
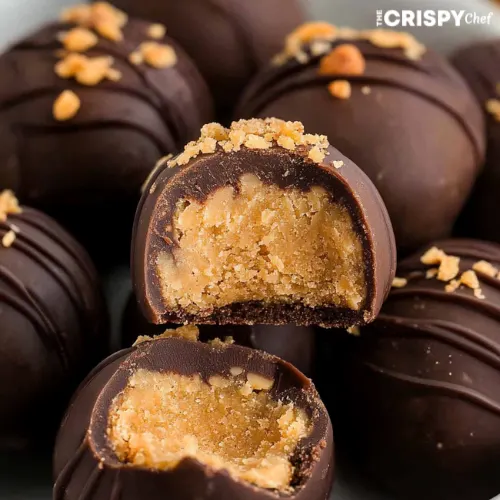
The Perfect Balance of Crunch and Sweetness
Every bite of these butterfinger balls is a special treat. The mix of:
- Crispy Butterfinger candy bits
- Smooth chocolate coating
- Creamy peanut butter base
Quick and Easy No-Bake Solution
Busy home cooks will love this simple dessert. It needs just four ingredients and no baking. You can make delicious treats in minutes. The recipe takes less than 30 minutes from start to finish.
| Preparation Time | Skill Level | Serving Size |
|---|---|---|
| 15-20 minutes | Beginner | 12-15 balls |
Cost-Effective Homemade Alternative
Forget expensive store-bought desserts. This easy butterfinger balls recipe lets you make gourmet treats cheaply. Impress your friends and family without breaking the bank.
Essential Ingredients for Perfect Butterfinger Balls
To make delicious butterfinger balls, you need just a few ingredients. These ingredients work together to create an amazing taste. Your recipe will be a hit with these key parts.
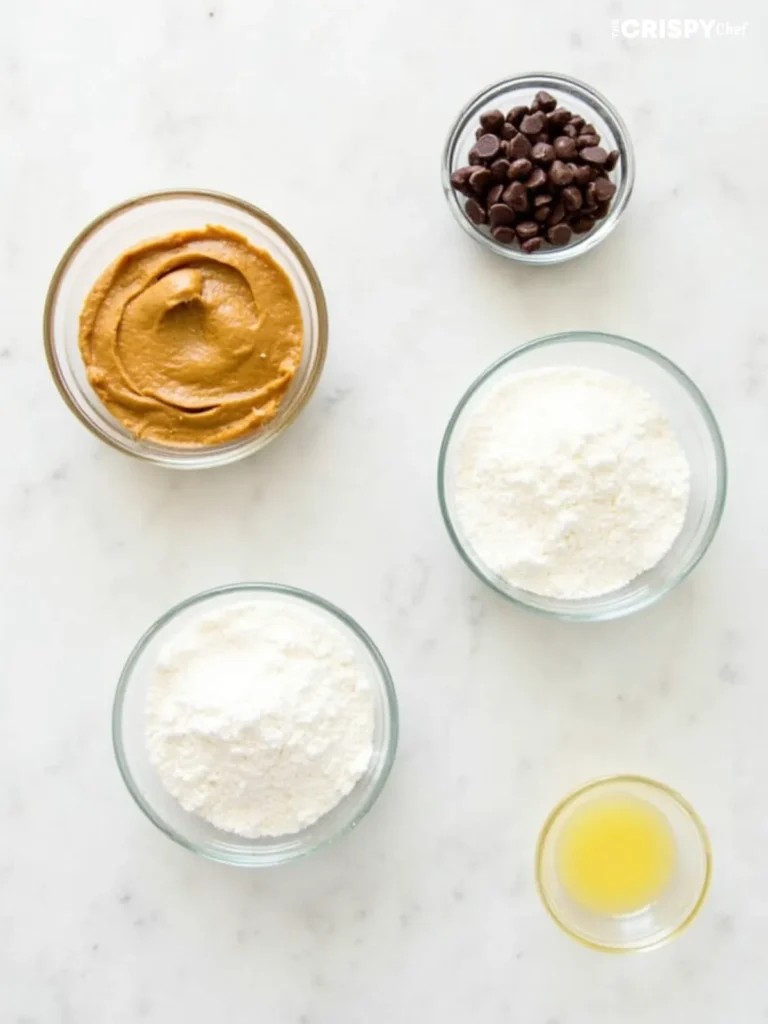
- Candy Corn: This is the secret ingredient in your butterfinger balls. When mixed with peanut butter, it gives a crispy, sweet flavor like Butterfinger.
- Peanut Butter: It’s the creamy base that holds everything together. It adds a rich, nutty taste to the mix.
- Chocolate Coating: You can use milk chocolate or dark chocolate for a smooth, shiny outside.
- Optional Sprinkles: These add a fun touch and extra crunch.
Your butterfinger balls recipe can be made for different diets. If you have peanut allergies, try sunflower seed butter or almond butter instead. For vegan versions, use dairy-free chocolate.
Choosing the best ingredients is key for great texture and taste. Fresh candy corn and creamy peanut butter make your treats irresistible.
Kitchen Tools and Equipment You’ll Need
To make tasty butterfinger protein balls, you need some key kitchen tools. The right equipment makes cooking easier and fun. It also helps you get professional-looking results every time.
Before starting your butterfinger protein balls recipe, get these basic tools. They will make your cooking process smoother and more enjoyable.
Basic Equipment Requirements
- Medium-sized mixing bowl
- Measuring cups and spoons
- Rubber spatula
- Baking sheet
- Parchment paper
Optional Tools for Professional Results
For better butterfinger protein balls, consider these advanced tools:
- Digital kitchen scale
- Cookie scoop
- Silicone baking mat
- Chocolate dipping fork
Storage Container Recommendations
Storing your butterfinger protein balls right is key to keeping them fresh. Choose containers that seal well and keep your treats safe.
| Container Type | Best For | Storage Duration |
|---|---|---|
| Airtight Glass Container | Refrigerator Storage | Up to 1 week |
| Plastic Food Storage Box | Room Temperature | 3-4 days |
| Freezer-Safe Container | Long-Term Preservation | Up to 2 months |
Pro tip: Always line your storage containers with parchment paper. This prevents butterfinger protein balls from sticking together.
Step-by-Step Preparation Process
Making delicious Butterfinger balls is easier than you think. This recipe will show you how to do it step by step. You’ll be making sweet treats in no time.
- Prepare Your Ingredients First, get all your ingredients ready. You’ll need peanut butter, crispy candy bars, powdered sugar, and chocolate for coating. Make sure to measure each ingredient carefully for the best taste.
- Mix the Base Crush the Butterfinger candy bars into fine crumbs. Then, mix these crumbs with softened peanut butter and powdered sugar. Keep blending until you get a smooth mix that sticks together well.
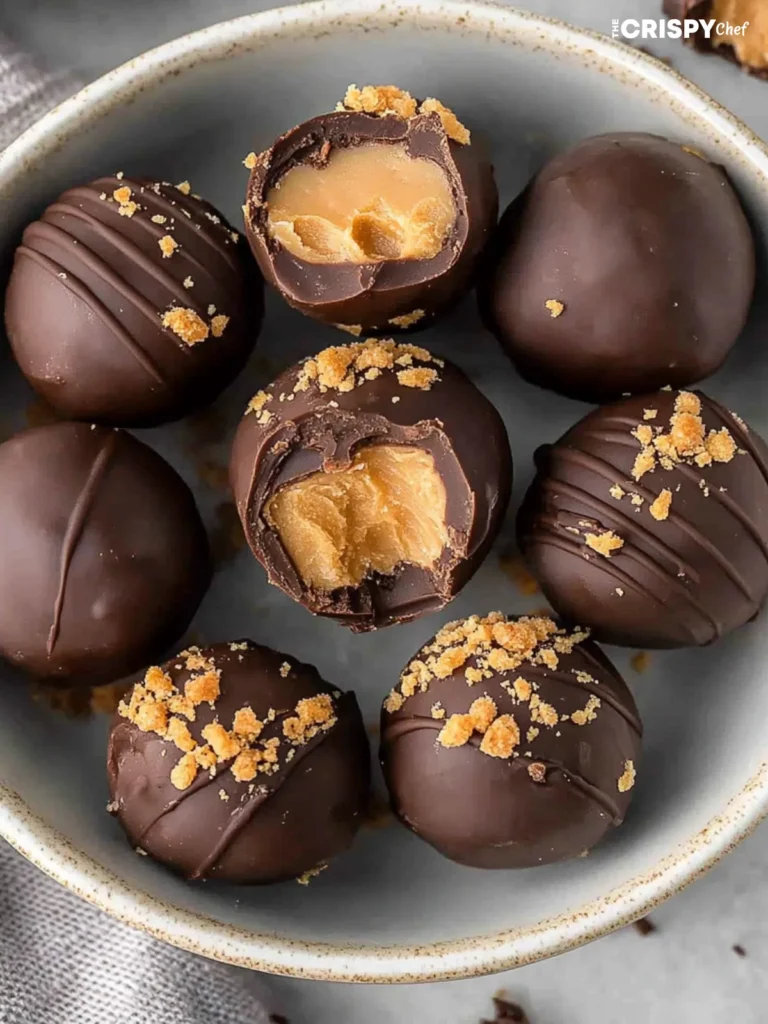
- Shape Your Balls Now, use your hands to roll the mix into small balls. Place them on a parchment-lined baking sheet. Try to make them about one inch in diameter for the best look.
- Chocolate Coating Melt the chocolate in a double boiler or microwave. Dip each ball into the melted chocolate, making sure they’re fully covered. Use a fork to remove any extra chocolate and put them back on the parchment paper.
- Chill and Set Put the Butterfinger balls in the fridge for 15-20 minutes. This will help the chocolate harden and give them a shiny finish.
Pro tip: Keep your hands a bit damp when rolling the balls. This will help prevent the mix from sticking. Your homemade Butterfinger balls will look amazing and taste fantastic!
Tips for Working with Chocolate Coating
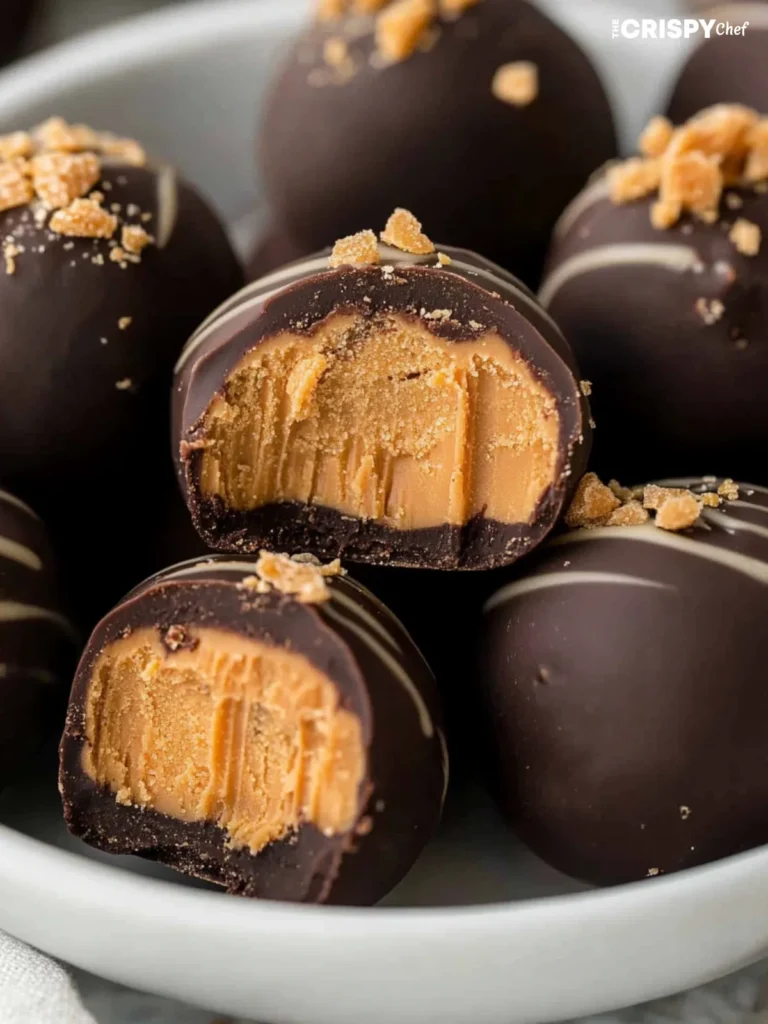
Getting the chocolate coating right can make your butterfinger balls stand out. The right technique turns simple ingredients into a treat that wows everyone.
Chocolate coating needs precision and care. Your butterfinger balls should have a smooth, glossy finish. This makes their texture even more delightful.
Proper Melting Techniques
Melting chocolate correctly is key. It prevents problems and gives a silky coating. Here are some methods to try:
- Double boiler method for gentle, even heating
- Microwave technique with 30-second intervals
- Avoid direct heat to prevent burning
Achieving the Perfect Consistency
The chocolate coating should be smooth and fluid. Here’s how to get it just right:
| Chocolate Type | Melting Temperature | Ideal Coating Consistency |
|---|---|---|
| Dark Chocolate | 115-120°F | Glossy, thin stream |
| Milk Chocolate | 105-110°F | Smooth, fluid |
| White Chocolate | 100-105°F | Light, delicate flow |
Troubleshooting Common Issues
Don’t let chocolate problems stop you from making amazing butterfinger balls. Here are quick fixes for common issues:
- Seized Chocolate: Add a teaspoon of neutral oil to restore smoothness
- Thick Coating: Thin with coconut oil or vegetable shortening
- Dull Finish: Ensure chocolate is tempered correctly
With these tips, you’ll make butterfinger balls with a professional chocolate coating. They’ll look and taste amazing.
Storage and Shelf Life Guidelines
Keeping your homemade butterfinger balls fresh is key. They need the right storage to stay crunchy and sweet. Follow these tips to enjoy them longer.
For a short time, store them in an airtight container at room temperature. They’ll last 5-7 days. For longer storage, the fridge is best.
- Room temperature storage: 5-7 days in sealed container
- Refrigerator storage: Up to 2 weeks
- Freezer storage: Up to 3 months
When you refrigerate, use parchment paper between layers to avoid sticking. Make sure the container is tightly sealed to keep moisture out.
“The key to maintaining the perfect butterfinger balls is controlling temperature and moisture!” – Dessert Preservation Expert
Freezing is the longest way to keep them fresh. Wrap each ball in plastic wrap, then in a freezer-safe container. Thaw in the fridge before enjoying.
Pro tip: Let refrigerated or frozen balls sit at room temperature for 10-15 minutes before serving. This will help them regain their perfect texture and taste.
Variations and Creative Twists
Turning butterfinger cake balls into a unique treat is easy. Your creativity can make these treats special and personal.
Be your own pastry chef by trying new things. You can change flavors, coatings, or how they look. These ideas will make your baking even more exciting.
Different Coating Options
- White chocolate drizzle for a classic elegant look
- Dark chocolate for intense flavor
- Colored candy melts for festive appearances
- Crushed nuts for added texture
- Sprinkles for fun and colorful butterfinger cake balls
Flavor Enhancement Ideas
Make your butterfinger cake balls even better with these tips:
- Add espresso powder for a coffee kick
- Mix in caramel sauce for extra sweetness
- Incorporate sea salt for a gourmet touch
- Blend with cream cheese for richer texture
Size and Shape Variations
| Variation | Description | Serving Suggestion |
|---|---|---|
| Mini Balls | Bite-sized treats | Perfect for parties |
| Large Balls | Substantial dessert portion | Individual serving |
| Cake Ball Cubes | Geometric shape | Modern presentation |
Make your butterfinger cake balls truly special with these ideas. Don’t be shy to try new things and find your own style!
Common Mistakes to Avoid
Making the perfect butterfinger bites recipe needs careful attention. Many bakers face issues that can ruin their treats. Knowing and avoiding these mistakes will help you make delicious bites every time.
When you’re making your butterfinger bites, the temperature of your ingredients matters a lot. Cold ingredients can make your mix lumpy. On the other hand, ingredients that are too warm can cause the chocolate to separate.
- Ingredient Proportion Errors:
- Measure ingredients precisely
- Use room temperature components
- Avoid eyeballing measurements
- Chocolate Coating Challenges:
- Melt chocolate slowly and carefully
- Use double boiler or microwave at 50% power
- Stir frequently to prevent burning
How you mix your ingredients is also key. Mixing too much can make your bites tough and dense. Mixing too little can make them crumbly. You want a mix that is smooth and holds together well.
Storing your butterfinger bites wrong can also mess them up. Always keep them in an airtight container in the fridge. This keeps them fresh and tasty. Don’t leave them out for too long.
Pro tip: Practice makes perfect with any butterfinger bites recipe!
By knowing these common mistakes, you can make butterfinger bites that look and taste like they’re from a pro. They’ll surely impress your family and friends.
Nutritional Information and Serving Size
Knowing the nutritional facts of butterfinger protein balls is key to making good food choices. These treats are packed with nutrients and still hit the sweet spot.
Homemade butterfinger protein balls are a great snack choice. They let you control what goes into them. The nutrition can change based on your recipe.
Calorie Content per Ball
Each butterfinger protein ball has about 80-120 calories. This number can vary with ingredients like peanut butter, chocolate, and protein powder.
| Ingredient | Calories | Protein |
|---|---|---|
| Peanut Butter | 95 | 4g |
| Chocolate Coating | 35 | 1g |
| Protein Powder | 25 | 5g |
Dietary Considerations
Butterfinger protein balls can fit into different diets:
- Gluten-free options using specific protein powders
- Vegan alternatives with plant-based ingredients
- Low-carb versions using sugar substitutes
For those watching their macros, these protein balls are a good choice. They’re high in protein and can help with fitness goals and energy.
Perfect Occasions for Serving Butterfinger Balls
Butterfinger balls are perfect for any gathering or special event. They add excitement to social settings. They’re a hit with everyone, making them great for many occasions.
They’re ideal for both casual and fancy events. Their small size and tasty flavor make them perfect for any event.
- Family Gatherings: Impress relatives with homemade butterfinger balls during holiday parties or weekend reunions
- Office Parties: Bring a sweet treat that’s easy to share and sure to delight coworkers
- Potluck Contributions: Stand out with these delectable butterfinger balls that are simple to transport
- Children’s Birthdays: Create a fun dessert that kids will absolutely love
When presenting butterfinger balls, think about how to make them look good. Use decorative platters or small gift boxes for a special touch.
| Occasion | Recommended Presentation | Quantity Suggestion |
|---|---|---|
| Casual Gathering | Rustic wooden tray | 15-20 butterfinger balls |
| Formal Event | Elegant tiered serving platter | 25-30 butterfinger balls |
| Gift Packaging | Clear cellophane bags with ribbon | 6-12 butterfinger balls |
Think about what your guests like and the event’s vibe when serving butterfinger balls. These treats can fit any celebration, whether it’s casual or fancy.
Make-Ahead and Freezing Instructions
Make your butterfinger balls recipe ahead of time for a convenient treat. They stay fresh for weeks in the freezer. This means you always have a tasty dessert ready.
To freeze them, start by placing the balls on a parchment-lined baking sheet. Make sure they don’t touch each other. Then, put the sheet in the freezer for 2 hours until they’re solid.
After they’re frozen, move the balls to an airtight container. Use wax paper between layers to stop them from sticking.
Proper Freezing Techniques
Use containers that are safe for the freezer and have tight lids. Write the date on the container and try to eat them within 4-6 weeks. This keeps them tasting and feeling their best.
When you’re ready to eat some, take them out of the freezer. Let them thaw in the fridge for about 30 minutes. This way, they’re perfect for serving.
Thawing Guidelines
Thawing your butterfinger balls is easy. Just put them in the fridge and let them thaw slowly. This keeps them from getting soggy or losing their shape.
When they’re thawed, they’re ready to enjoy. Serving them at room temperature brings out the best flavor and texture.
FAQ
How long do Butterfinger balls last?
Store your homemade Butterfinger balls in an airtight container in the fridge for up to 1 week. Freezing them will extend their life to 2-3 months. They’ll keep their great taste and texture.
Can I make Butterfinger balls without peanut butter?
Yes, you can use almond butter or sunflower seed butter as substitutes. But, the taste will be a bit different from the original.
Are Butterfinger balls suitable for meal prep?
Absolutely! They’re perfect for meal prep. Make a batch ahead, store them, and enjoy them as a quick snack or energy boost all week.
How can I make these Butterfinger balls protein-packed?
Add protein powder to the mix or use protein-rich peanut butter. You can also add chia seeds or a scoop of protein powder to boost the protein.
What’s the best way to coat Butterfinger balls in chocolate?
Use melted chocolate chips or candy melts for a smooth coat. Make sure the chocolate is melted well. Use a dipping tool or fork to coat each ball. Tap off excess chocolate and set on parchment-lined baking sheet.
Can I make these balls gluten-free?
Yes, use gluten-free graham crackers or alternatives. Make sure all ingredients, including chocolate, are gluten-free.
How do I prevent my Butterfinger balls from getting too soft?
Chill the mix before forming balls. Use room temperature ingredients. Refrigerate the balls for 30 minutes before coating to keep their shape.
Can I make Butterfinger cake balls using this recipe?
Definitely! Add crumbled cake to the mix. Use 1 cup of crumbled cake (vanilla or chocolate) with the other ingredients for delicious Butterfinger cake balls.
Butterfinger Balls
Equipment
- Medium-sized mixing bowl
- Measuring cups and spoons
- Rubber spatula
- Baking sheet
- Parchment paper
- Digital kitchen scale (optional)
- Cookie scoop (optional)
- Silicone baking mat (optional)
- Chocolate dipping fork (optional)
Ingredients
- 1 cup candy corn
- 1/2 cup peanut butter
- 1 cup chocolate coating milk or dark chocolate
- Optional: Sprinkles for decoration
Instructions
- Prepare Your Ingredients: Measure out the candy corn, peanut butter, and chocolate coating.
- Mix the Base: Melt the candy corn in the microwave in 30-second intervals until soft. Stir in the peanut butter until fully combined.
- Shape Your Balls: Let the mixture cool slightly, then roll into small balls (about 1 inch in diameter) and place them on a parchment-lined baking sheet.
- Chocolate Coating: Melt the chocolate using a double boiler or microwave. Dip each ball into the melted chocolate, ensuring full coverage.
- Chill and Set: Place the coated balls back onto the parchment paper and refrigerate for 15-20 minutes until the chocolate hardens.
- Serve and Enjoy: Store in an airtight container at room temperature for up to 5-7 days, in the refrigerator for 2 weeks, or freeze for up to 3 months.
Notes
Nutrition
Air Fryer Cooking Alcoholic beverages Appetizer Recipes Artisan bread baking Authentic Italian Cuisine Baking at home Baking Recipes Baking with blueberries Comfort Food Comfort Food Recipes Cooking at Home Cooking tutorials Dessert Recipes Easy Appetizers Easy Baking Easy baking recipes Easy Cooking Easy Dessert Recipes Easy Dinner Recipe Easy recipe Easy recipes Family-Friendly Meals Healthy Eating Healthy snack ideas Home Cooking Homemade Bread Homemade bread recipe Homemade Cookies Homemade dessert Homemade desserts Homemade recipes Italian comfort food Italian Cuisine Mexican cuisine One-pot meals Party appetizer Plant-based recipes Quick Meals Quick recipes Seafood recipes Southern Comfort Food Southern cooking Southern cuisine Sweet treats Traditional Cooking