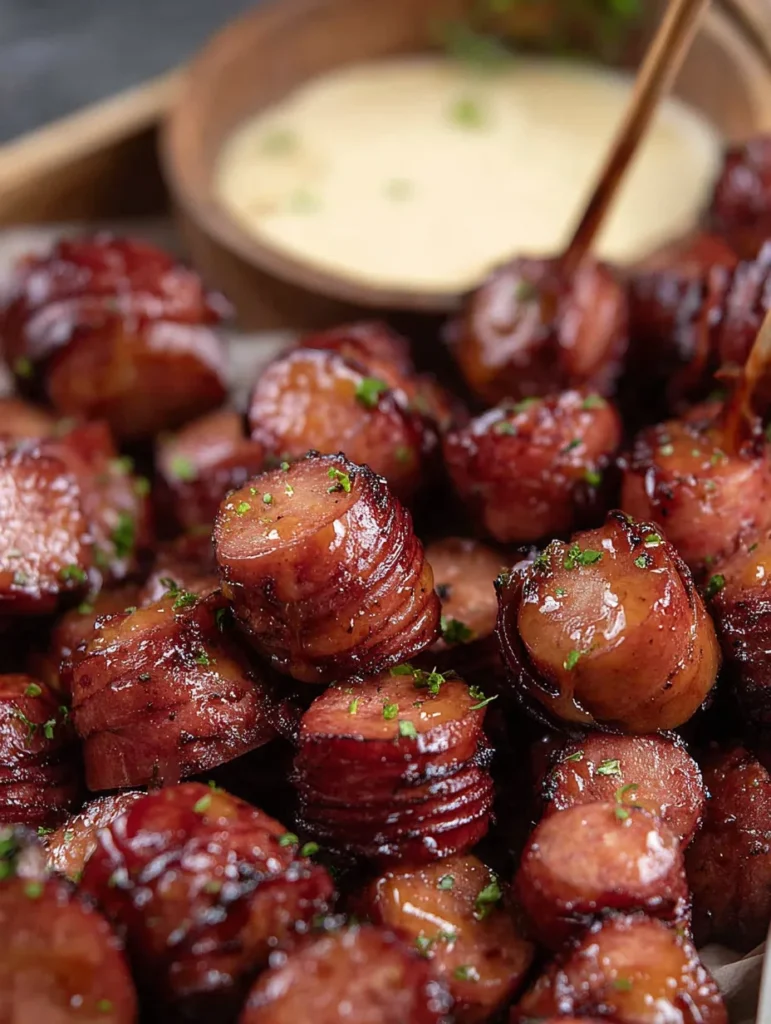
You know that moment when you’re staring at your grill, trying to figure out what appetizer will actually make people forget about scrolling their phones? BBQ kielbasa bites are your answer. I’ve been making these little flavor bombs for years, and honestly, they disappear faster than my motivation to clean the grill afterward.
These aren’t your grandma’s cocktail weenies (though we love grandma). We’re talking about smoky, caramelized perfection that’ll have your guests asking for the recipe before they’ve even finished chewing. Ready to become the neighborhood grill hero?
What Makes BBQ Kielbasa Bites So Addictive?
Ever wonder why some appetizers just hit different? BBQ kielbasa bites work because they combine everything we crave: smoky char, juicy meat, and that perfect bite-sized convenience that lets you eat twelve without realizing it :/
The magic happens when that high-quality kielbasa meets direct heat. The casings crisp up while the inside stays juicy, creating this incredible contrast that makes your taste buds do a little happy dance. Plus, kielbasa already comes pre-seasoned, so you’re basically starting with a head start.
Here’s why they’re party gold:
- No prep stress – literally slice and grill
- Universal appeal – even picky eaters demolish these
- Budget-friendly – feeds a crowd without breaking the bank
- Make-ahead friendly – prep earlier, grill when guests arrive
I learned this the hard way at my first backyard party. Spent hours on fancy stuffed jalapeños while these simple bites became the star of the show. Sometimes simple wins, and your sanity thanks you for it.
Choosing Your Kielbasa Like a Pro
Not all kielbasa bites are created equal, my friend. The sausage you choose makes or breaks this entire operation. Quality kielbasa gives you that perfect snap when you bite down, while the cheap stuff just… doesn’t.
Look for these characteristics:
- Natural casings – they give you that satisfying snap
- Minimal fillers – read those ingredients, people
- Good fat content – lean isn’t always better for grilling
- Authentic brands – Polish or German varieties usually nail it
Fresh vs. Smoked: The Great Debate
Fresh kielbasa gives you more control over the final flavor, but smoked kielbasa brings that deep, complex taste that makes people think you’re some kind of grilling wizard. IMO, smoked wins for BBQ bites because it amplifies that smoky goodness we’re after.
I’ve tried both extensively (tough job, but someone has to do it), and smoked kielbasa consistently delivers better results. The existing smoke flavor builds layers with your grill’s char, creating this incredible depth that fresh versions just can’t match.
The Perfect Cut: Size Matters
Here’s where people mess up: they either slice too thick or too thin. One-inch pieces are your sweet spot. Thick enough to get a good char without drying out, thin enough to cook evenly and eat in one bite.
Pro cutting tips:
- Sharp knife essential – dull blades crush the casing
- Diagonal cuts – more surface area for caramelization
- Consistent thickness – even cooking is everything
- Score the sides – prevents curling and adds texture
Want to get fancy? Score shallow diagonal cuts on each piece before grilling. This prevents the dreaded kielbasa curl and gives you more crispy edges. More crispy edges equal more happiness – it’s basic math.
Grilling Technique That Actually Works
Forget everything you think you know about grilling sausages. BBQ kielbasa bites need a different approach than full-length links. We’re going for maximum caramelization in minimum time.
Heat Management is Everything
Start with medium-high heat – around 400°F if you’re using a gas grill. Too hot and you’ll char the outside while the inside stays cold. Too cool and you’ll never get that beautiful caramelization that makes these bites irresistible.
The two-zone method works perfectly:
- Hot zone for initial searing
- Cooler zone for finishing without burning
- Oil the grates – seriously, don’t skip this step
- Don’t crowd – give each piece breathing room
Timing and Technique
Here’s my foolproof method: 2-3 minutes per side on the hot zone, then move to indirect heat if needed. You want deep golden-brown color with slightly crispy edges. The internal temperature should hit 160°F, but honestly, visual cues work better here.
Watch for these signs:
- Casings start to split slightly
- Edges turn golden-brown
- Fat renders and sizzles
- Natural juices start pooling
Resist the urge to keep flipping. Let each side develop that gorgeous crust before moving. Patience grasshopper – good things come to those who don’t poke their food every thirty seconds.
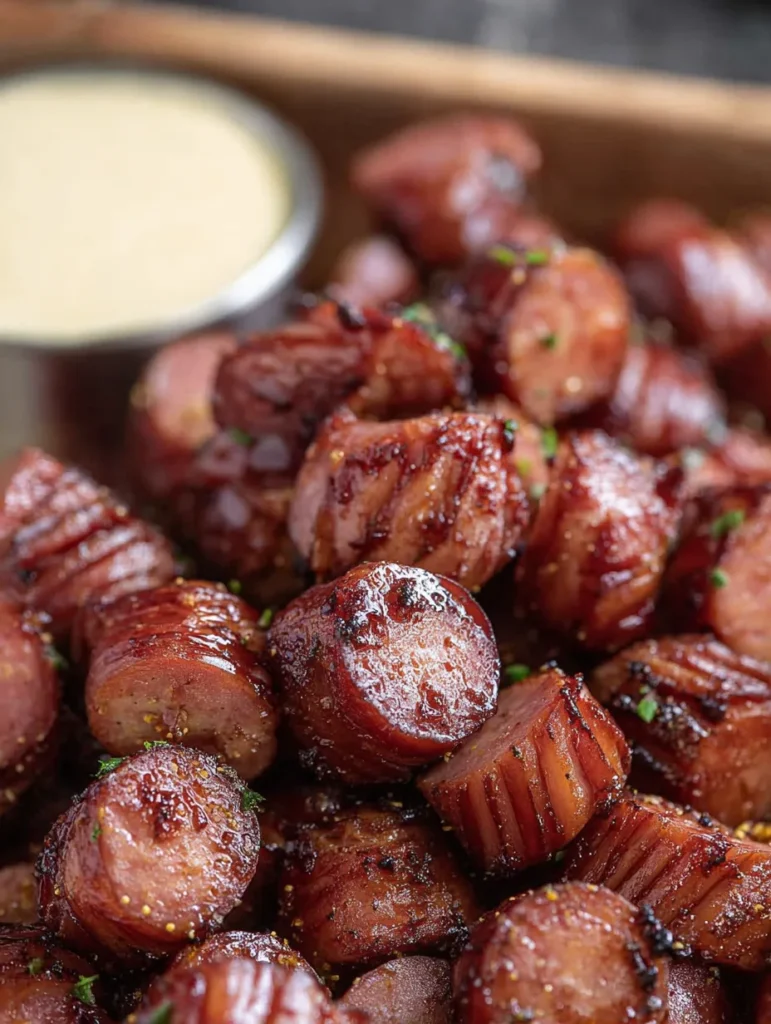
Glazes and Sauces That Elevate the Game
Plain grilled kielbasa bites are great, but glazed kielbasa bites are legendary. The key is adding your glaze during the last few minutes of cooking. Too early and it burns, too late and it doesn’t penetrate.
Classic Glazes That Never Fail
Honey mustard glaze remains my go-to. Mix equal parts honey and Dijon mustard with a splash of apple cider vinegar. Brush it on during the last minute of grilling and watch people lose their minds.
Brown sugar bourbon glaze brings serious sophistication:
- 1/4 cup brown sugar
- 2 tablespoons bourbon (save some for the cook)
- 1 tablespoon soy sauce
- 1 teaspoon garlic powder
Sweet and spicy options:
- Maple sriracha – sweet heat perfection
- Apricot jalapeño – unexpected but amazing
- BBQ sauce with a twist – add some coffee or beer
Application Technique
Don’t just slather on the glaze like you’re painting a fence. Light, even coats work better. Brush on, let it caramelize for 30 seconds, flip, repeat. You want the glaze to enhance, not mask the kielbasa’s natural flavor.
Serving and Presentation Ideas
Presentation matters, even for casual gatherings. These bites deserve better than being dumped on a paper plate next to the potato chips. A little effort goes a long way in making people think you’re a culinary genius.
Creative Serving Suggestions
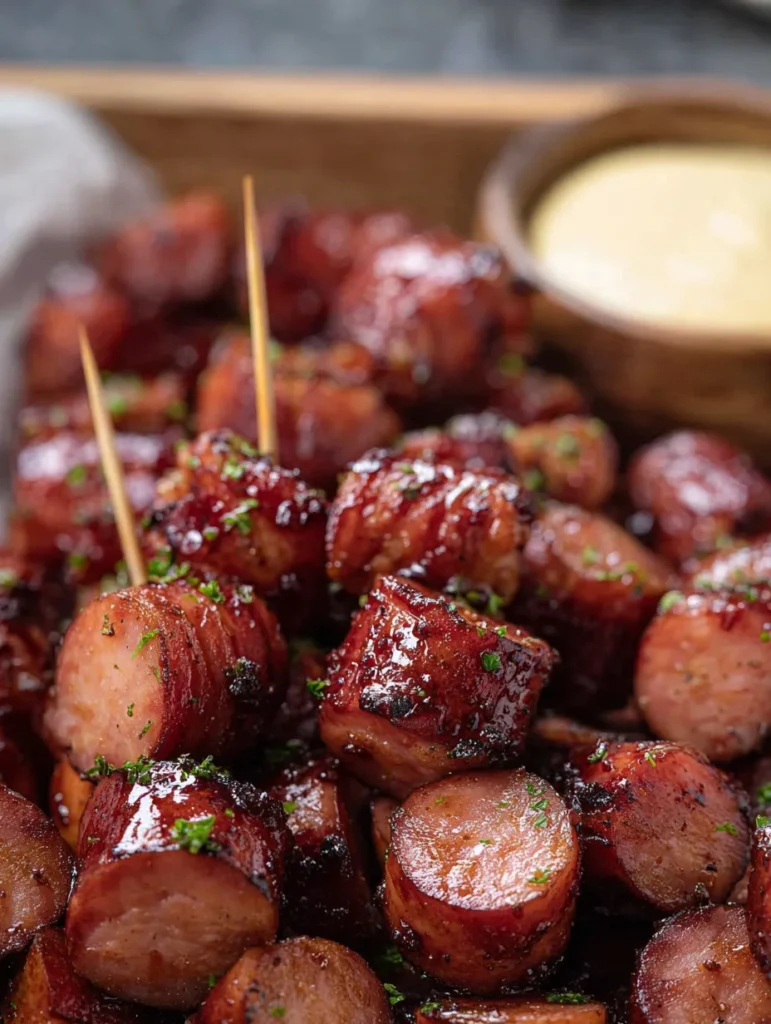
Skewer them with colorful picks for easy grabbing. Add a cherry tomato or pickle for color contrast and extra flavor. Arrange on a wooden board with small bowls of different dipping sauces – let people customize their experience.
Make it interactive:
- DIY sauce station with multiple options
- Warm serving platters keep them at perfect temperature
- Garnish thoughtfully – fresh herbs or green onions work great
- Provide napkins – seriously, lots of napkins
Storage and Make-Ahead Tips
Life gets busy, and sometimes you need to prep ahead. BBQ kielbasa bites actually hold up remarkably well when stored properly. Cook them fully, let them cool, then refrigerate for up to three days.
Reheating without ruining them:
- Oven at 350°F for 5-7 minutes
- Quick grill reheat for that fresh-off-the-grill taste
- Avoid microwaving – turns them rubbery
- Add fresh glaze when reheating for extra flavor
Freezing for Future Parties
Cooked kielbasa bites freeze beautifully for up to three months. Freeze them on a baking sheet first, then transfer to freezer bags. This prevents them from sticking together in one giant kielbasa mass.
Common Mistakes That Ruin Everything
Let’s talk about the fails I’ve witnessed (and committed) over the years. These mistakes turn perfect kielbasa bites into disappointing hockey pucks that nobody wants to eat.
Biggest rookie errors:
- Overcooking – dried out sausage is sad sausage
- Underseasoning – even pre-seasoned kielbasa needs help
- Wrong temperature – too hot burns, too cool doesn’t caramelize
- Crowding the grill – leads to uneven cooking
The glaze disasters:
- Adding glaze too early – hello charcoal flavor
- Too much glaze – drowns the meat’s natural taste
- Wrong consistency – too thick burns, too thin slides off
Taking Your Kielbasa Game to the Next Level
Once you’ve mastered basic BBQ kielbasa bites, it’s time to experiment. Stuffed kielbasa bites filled with cream cheese and jalapeños blow minds. Bacon-wrapped versions are basically cheating, but sometimes you need that unfair advantage 🙂
Advanced techniques worth trying:
- Cold smoking before grilling for extra depth
- Marinating in beer or wine overnight
- Compound butter finishing – herb butter melting over hot bites
- Pairing with complementary sides – sauerkraut, mustard varieties
The beauty of kielbasa bites lies in their versatility. They work for casual weeknight dinners, fancy dinner parties, game day spreads, or that random Tuesday when you want something delicious without the fuss.
Final Thoughts
BBQ kielbasa bites prove that sometimes the simplest ideas create the biggest impact. You don’t need complicated techniques or exotic ingredients – just quality kielbasa, proper heat management, and maybe a killer glaze to make people think you’re a grilling genius.
FYI, I’ve never served these at a party where they didn’t disappear first. They’re that good, and now you know exactly how to make them. Fire up that grill and prepare to become everyone’s favorite host. Your guests will thank you, your taste buds will thank you, and your confidence behind the grill will skyrocket.
Just remember to make extra – trust me on this one. Nothing’s worse than running out of the good stuff while people are still asking for more.

BBQ Kielbasa Bites
Equipment
- Grill (gas or charcoal)
- Sharp Knife
- Tongs
- Grill-safe brush
- Mixing bowl (for glaze)
Ingredients
- 2 pounds smoked kielbasa sausage preferably with natural casing
- Optional: oil for grill grates
Honey Mustard Glaze (Optional)
- 2 tbsp honey
- 2 tbsp Dijon mustard
- 1 tsp apple cider vinegar
OR Brown Sugar Bourbon Glaze (Optional)
- 1/4 cup brown sugar
- 2 tbsp bourbon
- 1 tbsp soy sauce
- 1 tsp garlic powder
Instructions
- Preheat grill to medium-high heat (around 400°F). Oil grates lightly.
- Slice kielbasa into 1-inch diagonal pieces. Optionally score the surface with shallow cuts.
- Grill over direct heat for 2–3 minutes per side until golden brown and slightly crispy.
- If using glaze, apply during final minute of grilling. Flip, brush lightly, and repeat until caramelized.
- Check doneness: casings should be slightly split, edges crispy, and internal temp near 160°F.
- Remove from heat, serve hot with optional dipping sauces or garnishes.